3. Circular fashion
I-Lecture and recitation
This week, Elisabeth Jayot, a fashion designer currently doing a PHD, presented her work in a very inspiring lecture. She presented her work from her graduation project in 2014 with the initial idea to make a no-sewing garment. This idea was continued with the collection "tribute to Mondrian" she made. This collection was successfully entierly seamless with a zero-waste lock-in system designed with complementary arrows. The pieces of the collection are modular and some pieces can be assembled to make different clothes with adaptable lenght, colours...
She also explained a notion from Simondon that I found very inspiring. Simondon makes the distinction between open and closed objects. Closed objects are objects that were not made to evolve and thus have a limited life spawn. On the contrary, open objects are objects easily understandable, reparable, modifyable and standardized so that they can easily evolve. If they are open source, they can evolve even quicker by pooling knowledge, ideas and creativity. Current clothes are closed objects made in an obsolete way with a limited life spawn and accumulate as waste products. Guided by the idea of making open objects, Elisabeth Jayot developped a concept of clothes that would be like puzzle pieces using versatile cloth modules made out of waste material. I could continue explaining her PHD but I think this video of her is clearer. I am also really interested in doing a PHD at the intersection of sustainable fashion and biology so I might send her an email to have some more information...
We also had a lecture about Open-Source circular fashion and these are the points that stroke me:
- The words "Innovation" and "Sustainability" used by conglomerates are fuzzy and often empty concepts as they might refer to different parameters such as politics, culture, economics and ecology.
- Companies nowadays have EPR (Extended Producer Responsability) wich constrain them to take responsability for the treatment of their product once they reach the end of their life cycle. It can be through reuse, buy back, recycling programs... They can also decide to pay a PRO (Producer Responsability Organization) to take care of it.
- We are now entering the 4th Production era. This production era is going to be digital and distributed which allows the reduction of the costs of factory setup but also more customization.
II-Assignement
- Design and prototype with paper and scissors modular configurations and locking connections.
- Run tests of laser cutting of your designs in fabric and document the parameters for the chosen fabric.
- Create a modular or seamless garment, showing that the connection is well designed and holds the pull/stretch of a garment. -Upload the open source file in pdf, in correct scale with 1-5 pictures on Open Source Circular Fashion.
III-Inspiration
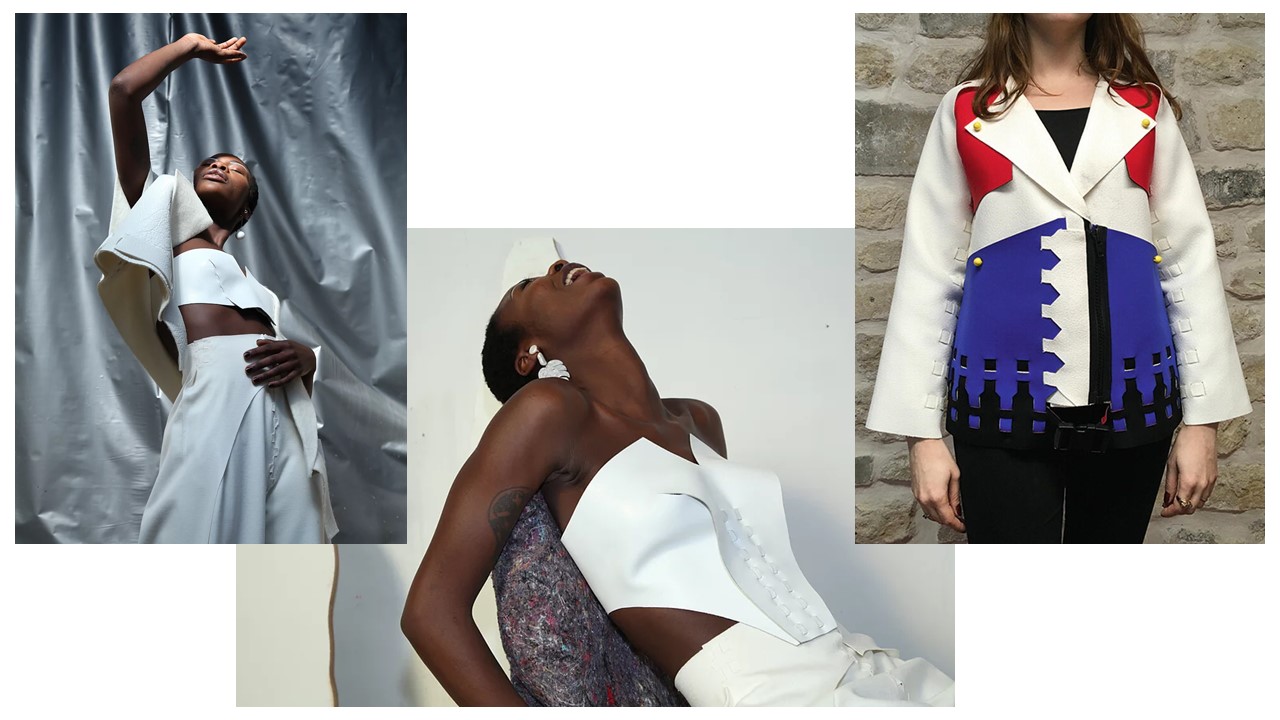
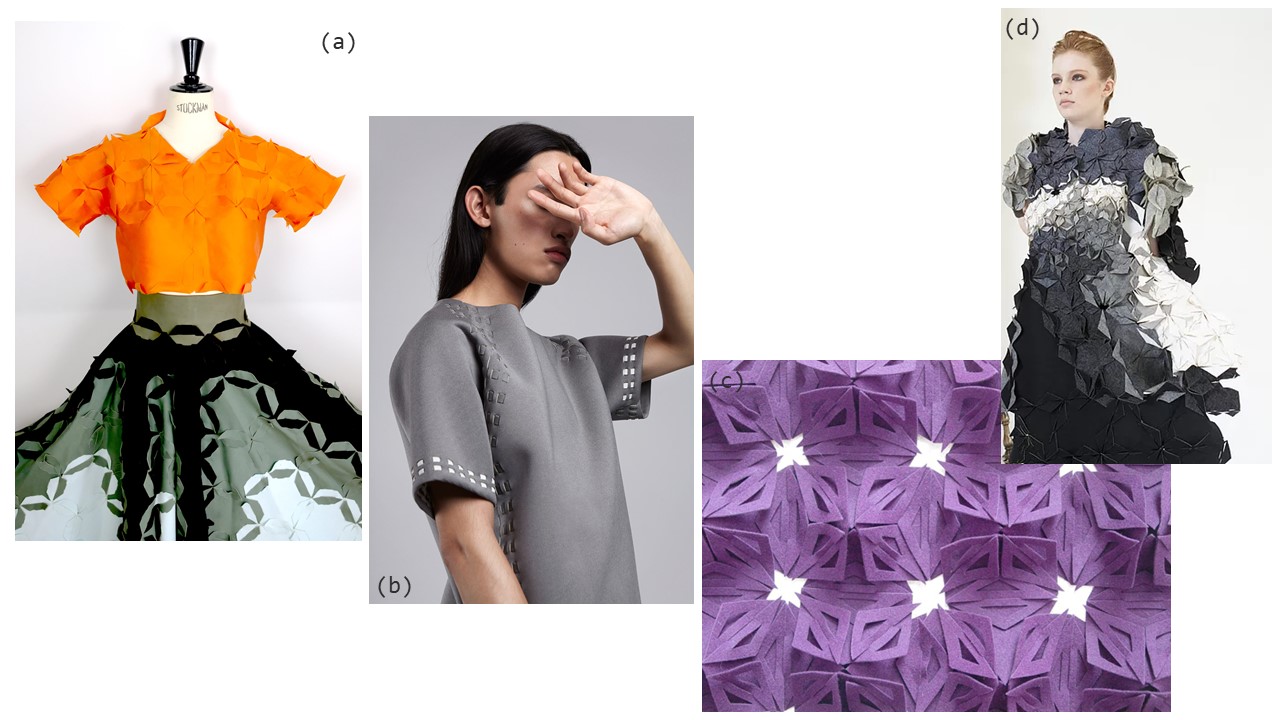
For the inspiration, I did not have to search too much since Elisabeth Jayot's work (a) inspired me so much already. I really liked her first collections that were modular (but not with versatile modules), just as I liked Post Couture (b), and thought they were more aesthetic than the versatile modular ones. But I chose zero waste over aesthetic and went for more versatile modules. I appreciated the work of Mary Ann Williams(c), who designed her modules so that it looks like there are layers of material. I also was very impressed by the work of Eunsuk Hur(d) that assembled modules of different sizes and used great combination of colours.
IV-Research
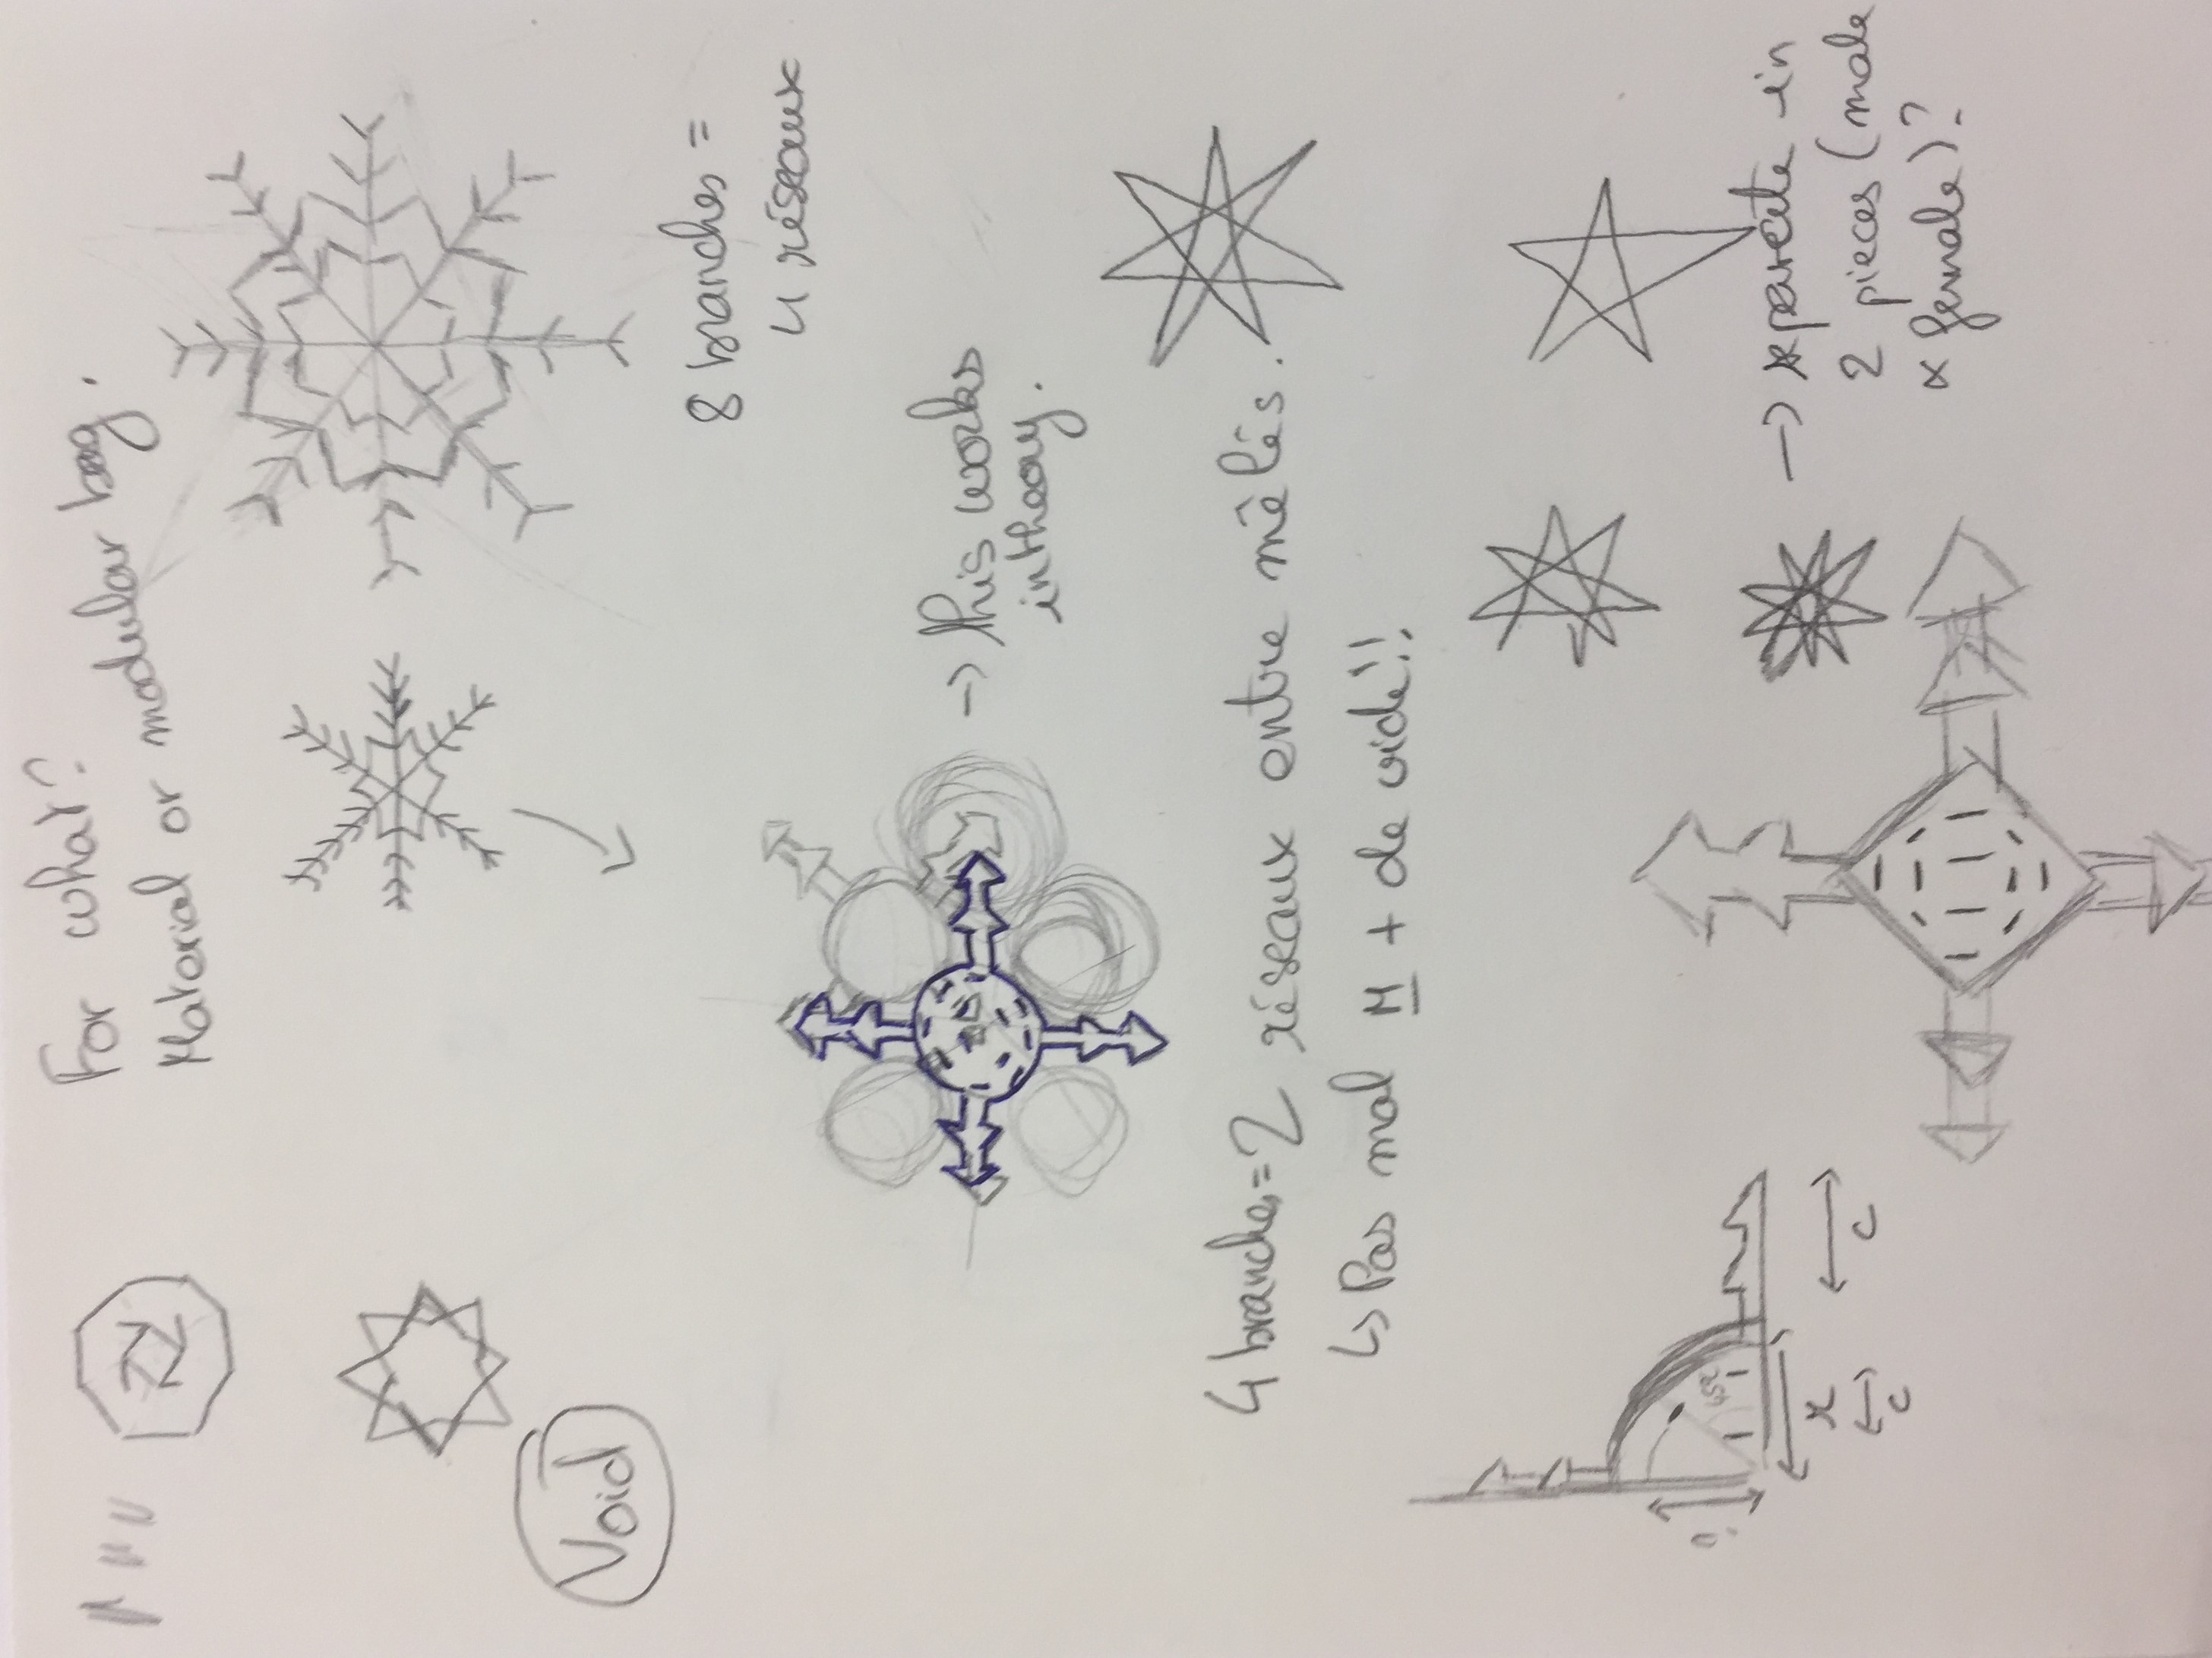
Following the inspiration I mentionned before, I tried to design versatile modules. I explored different shapes like snowflakes, circles and squares. I tried to put down my ideas on paper by drawing at first (documented here under) and then tried to cut my ideas out of paper.
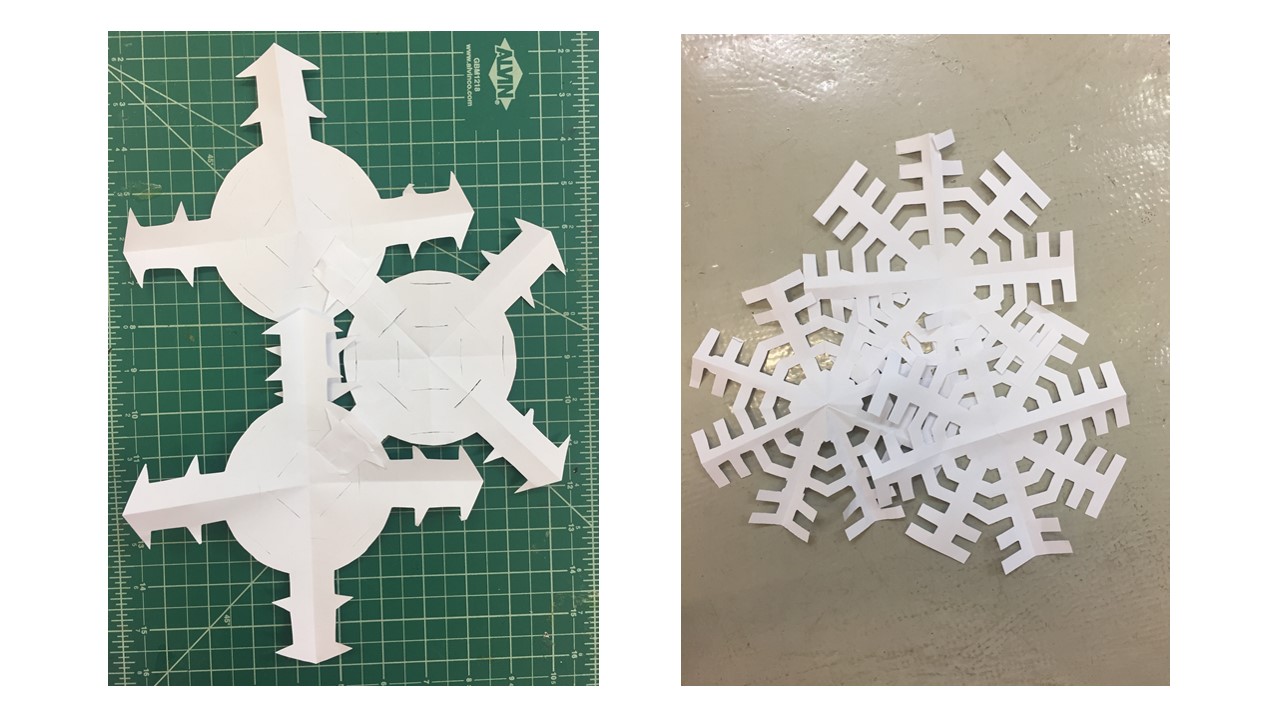
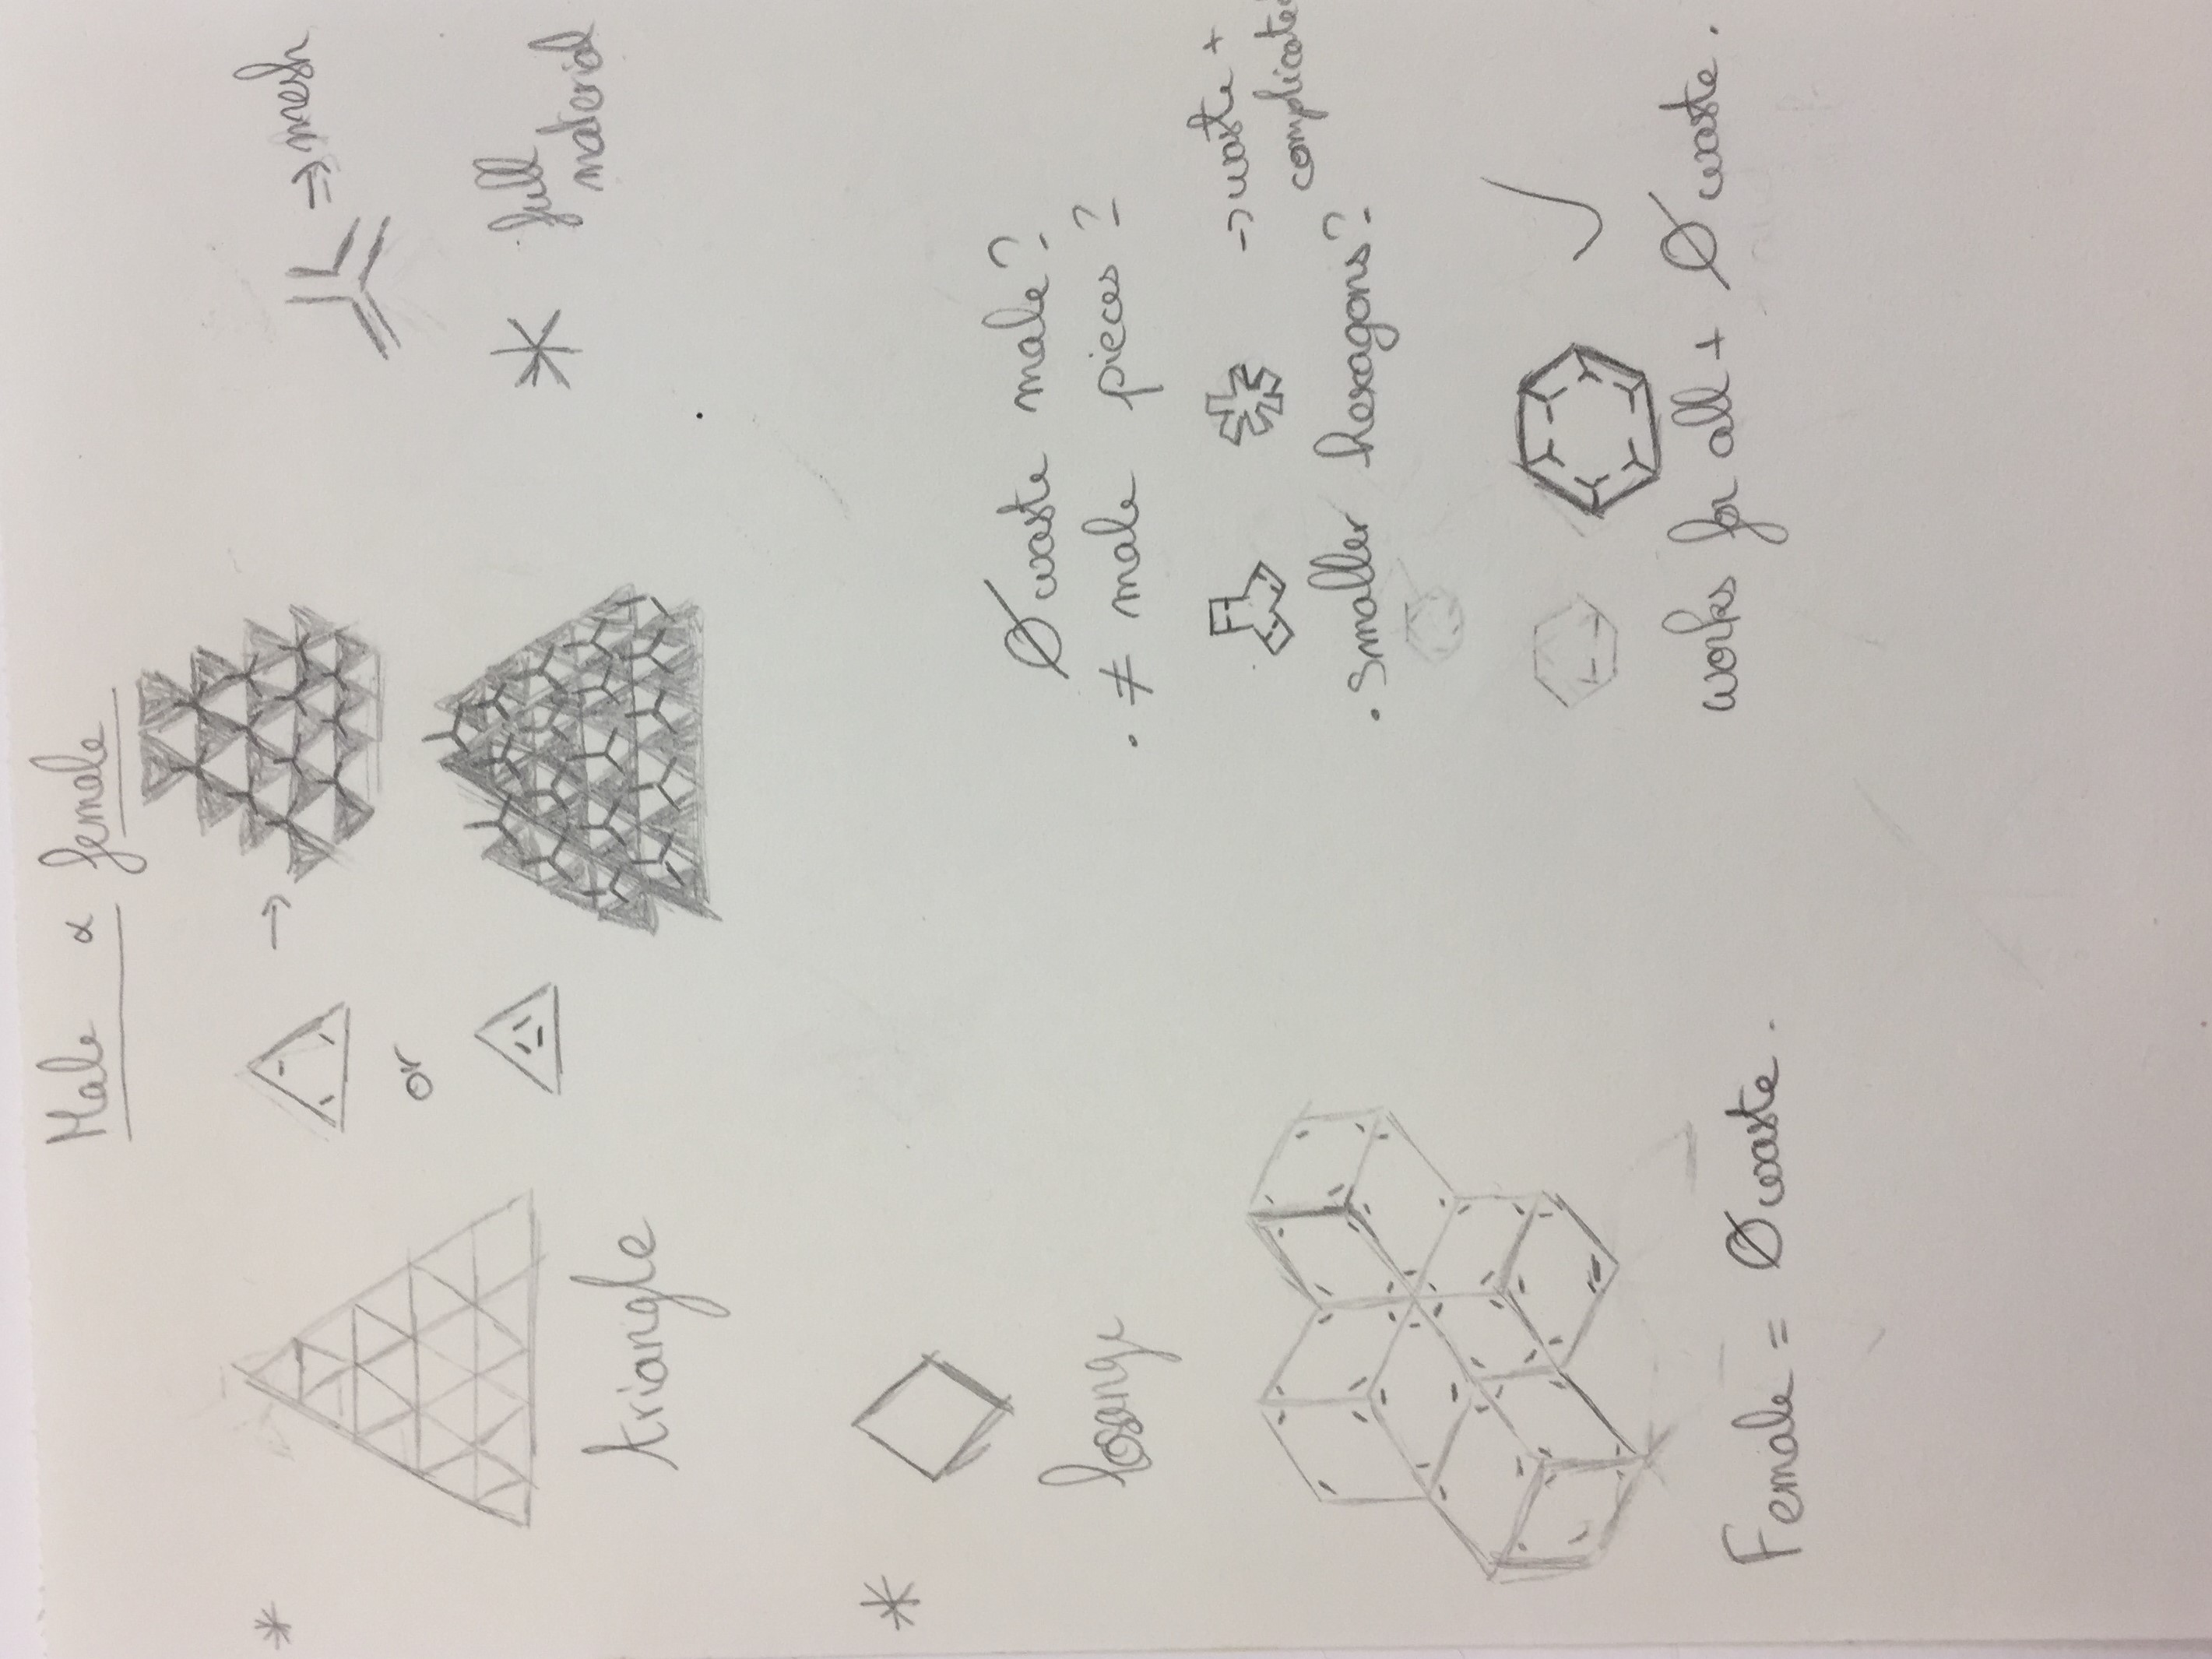
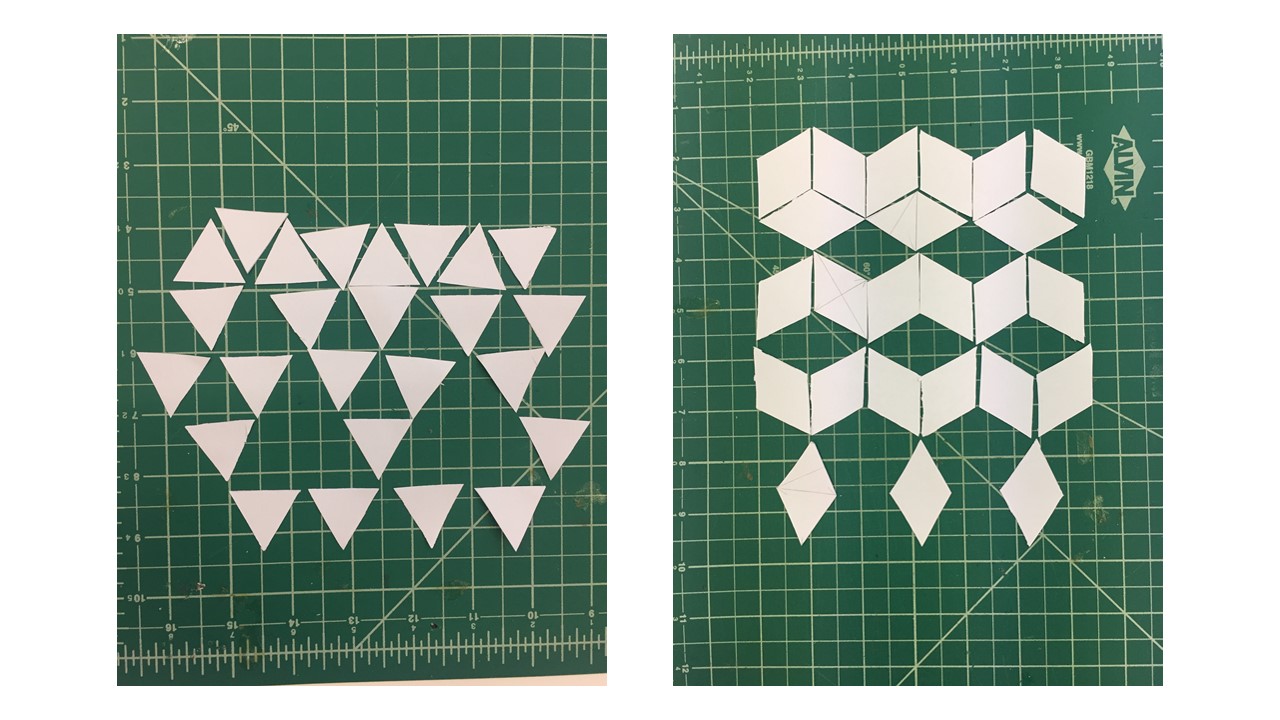
I was not really convinced by the aesthetic of these modules on their own or in a mesh. I thus went for another type of mesh that would be more simple and would not give the impression the material is overloaded once assembled. For some reason, I am absolutely obsessed by triangles so I went for triangles and drew another inspiration board, with the idea of making male and female pieces. Here are my attempts:
At the same time, I just moved into my new appartment on wednesday. I thus had to take another route to go to Fabricademy and on my new itinerary, I noticed the modular decorations of a metro station.
 I really loved the rhombus shape and the different meshes it could allow (star type and hexagon). After making attempts with triangles and Rhombus, and exploring the different meshes I could do, I settled for the rhombus shape.
Once I had made my decision, I started calculating the different pieces I could make and their sizes.
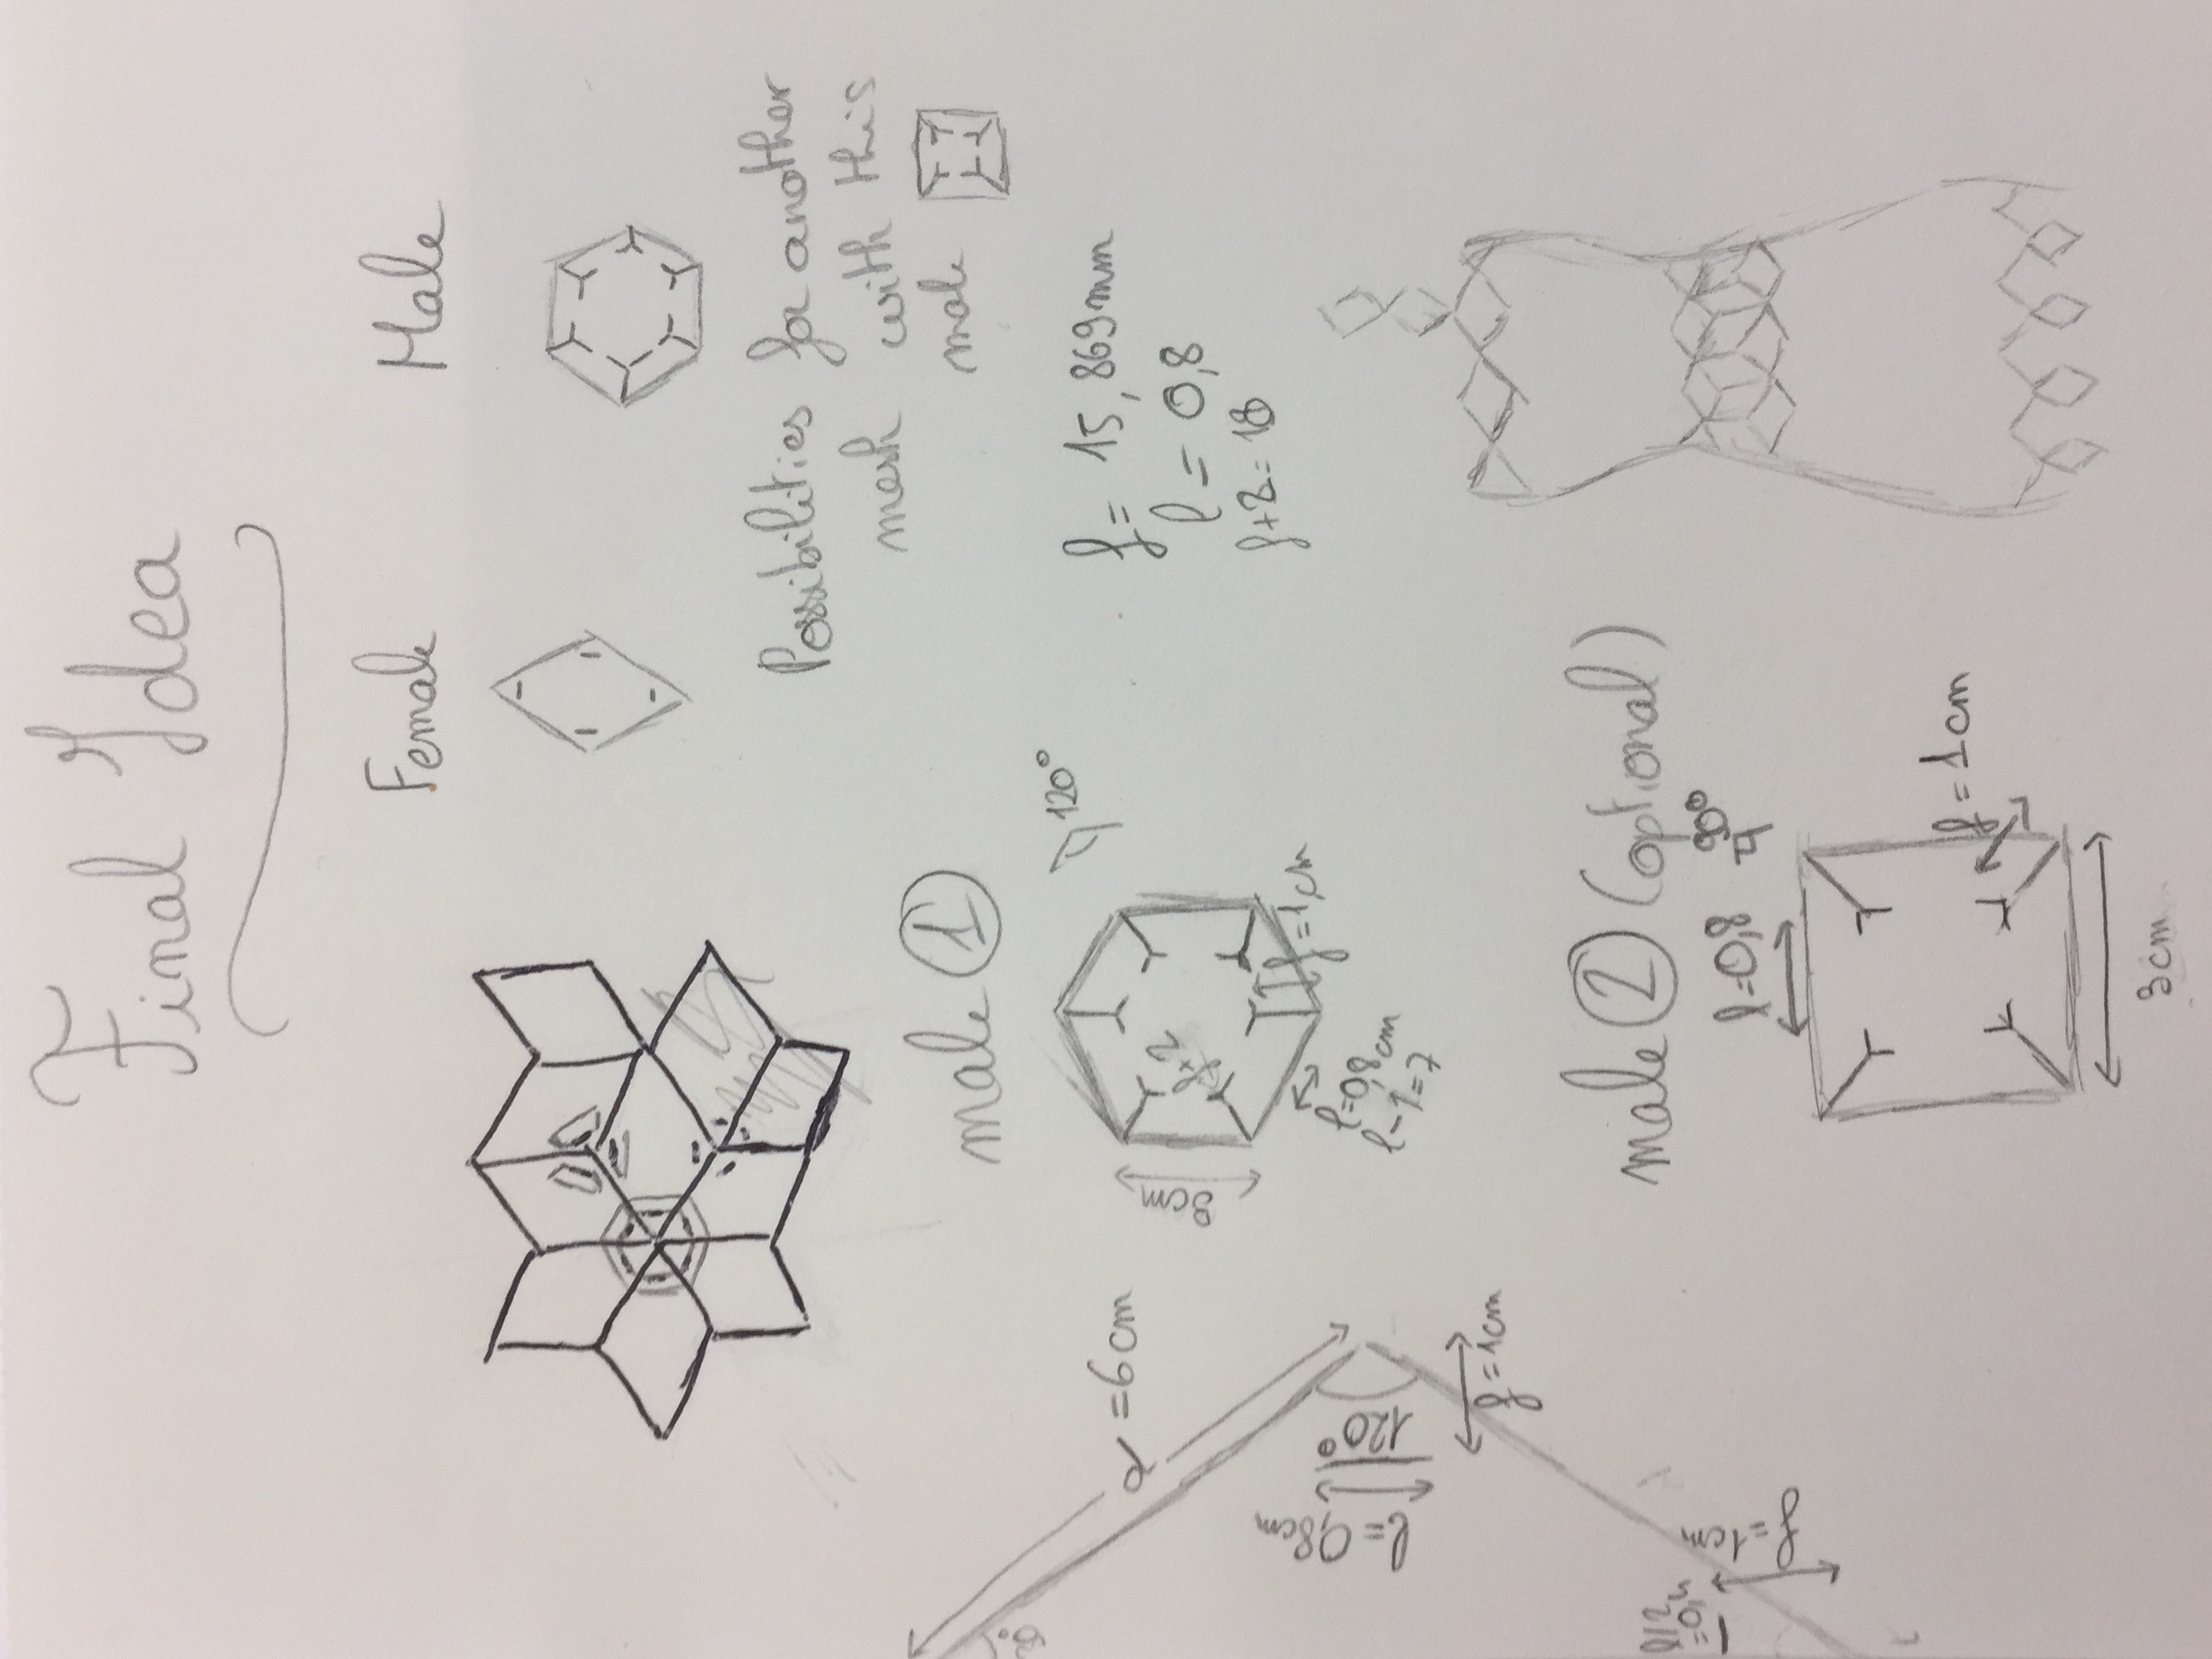
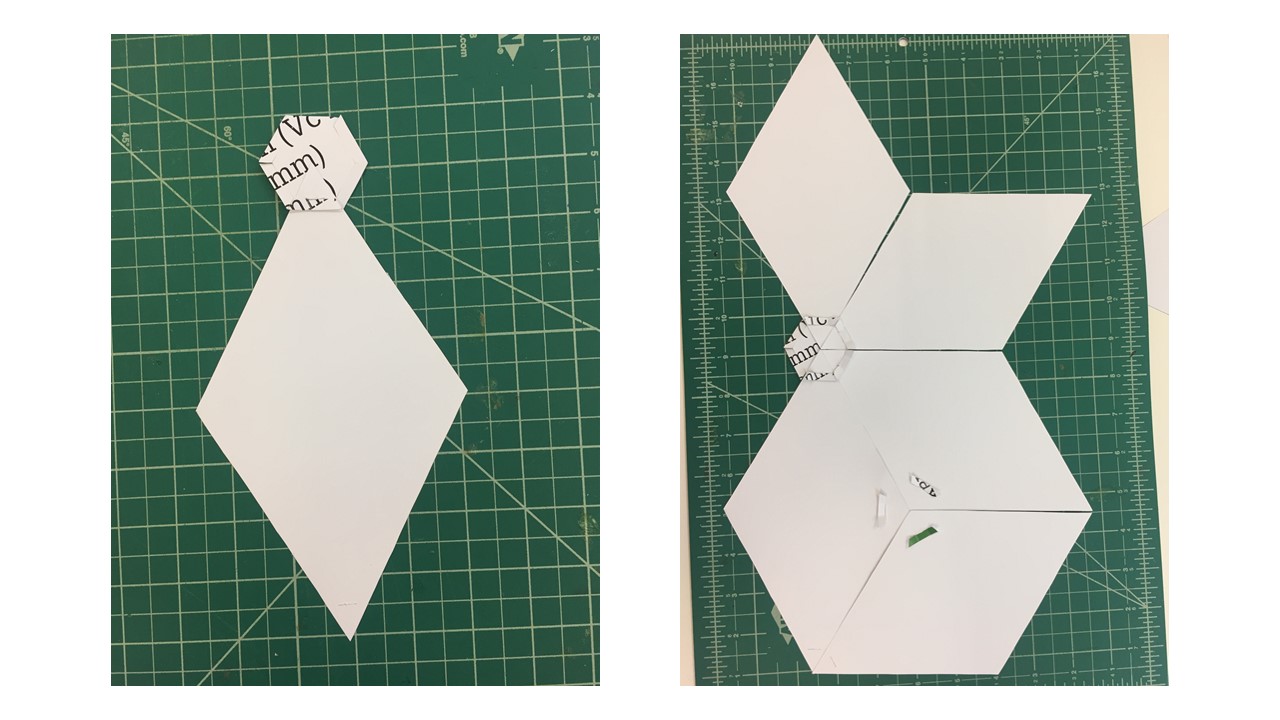
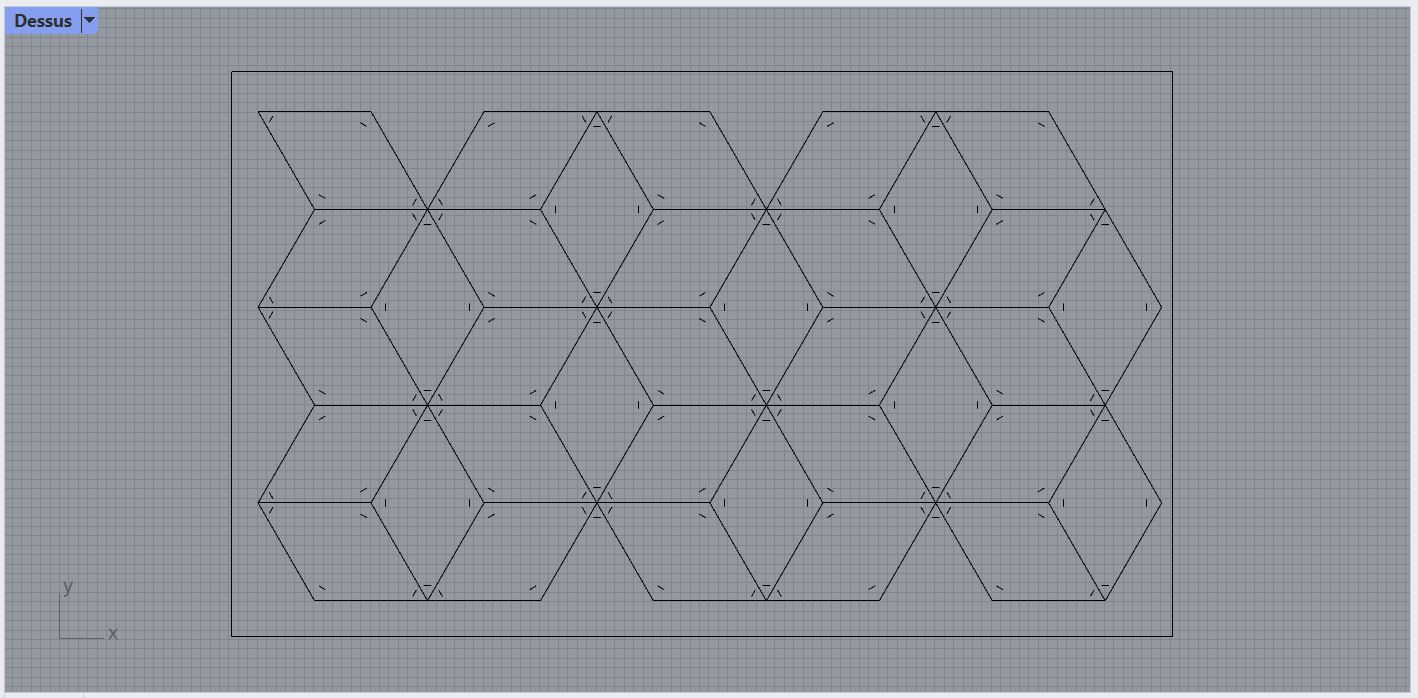
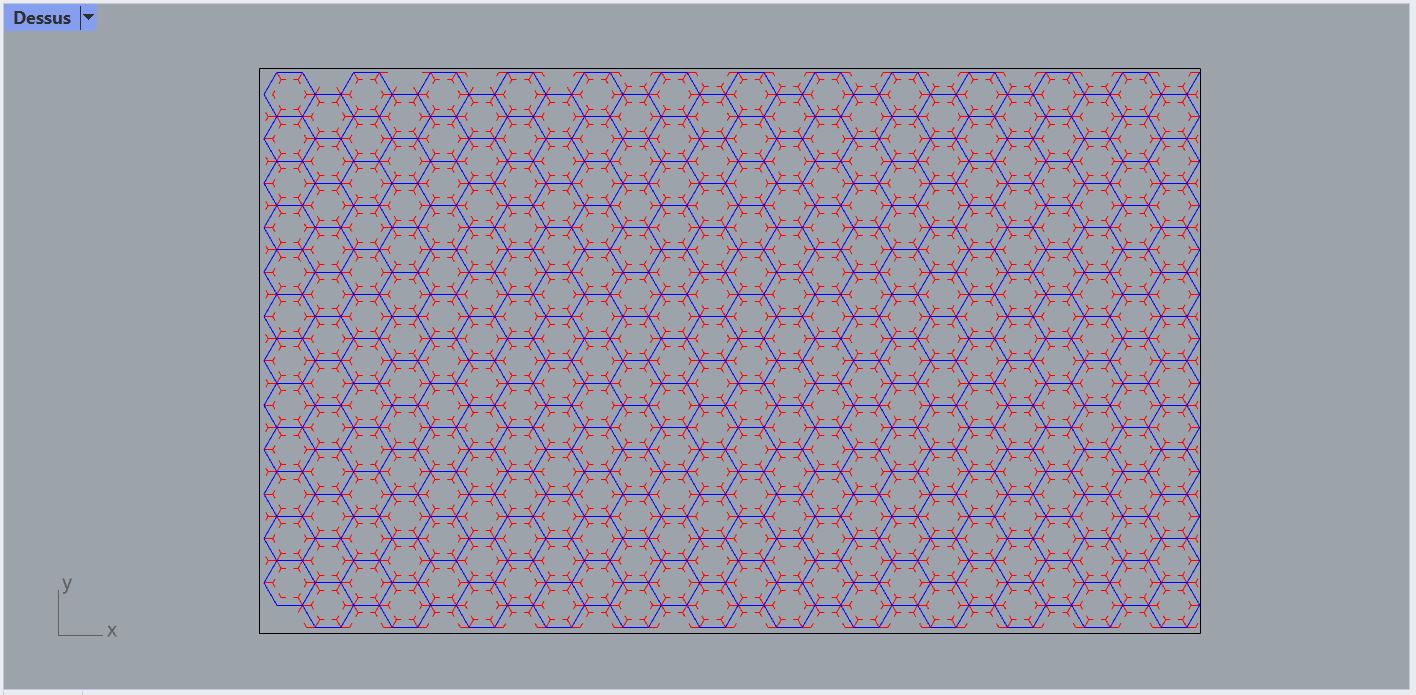
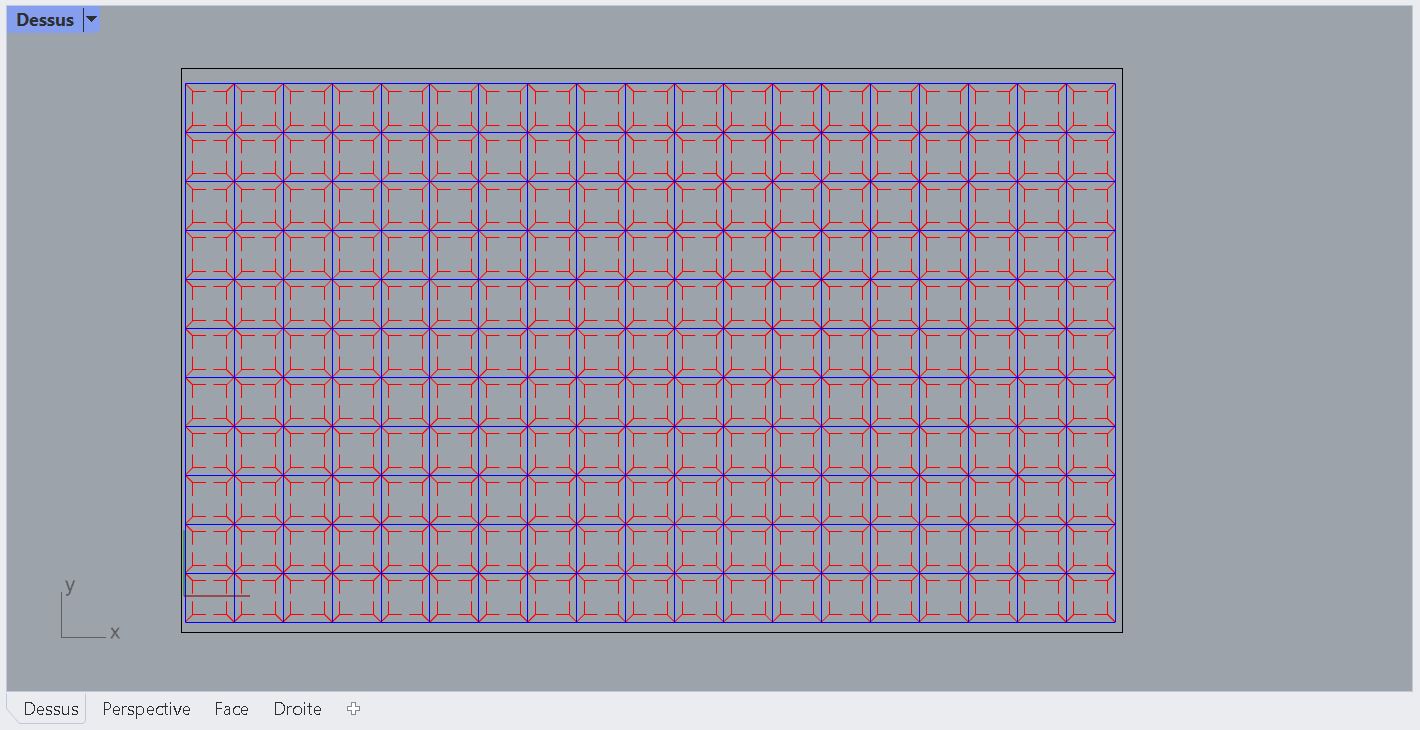
Then I started drawing the idea on Rhinoceros3D and printed it on paper to try the dimensions. Once I had printed the female rhombus shapes and their corresponding hexagonal male shape, I realized a square male shape would allow a new mesh (a mesh of greater rhombuses)! So I designed it too. Anastasia also told me that for the pieces not to rip apart, there should at least be a 5mm space between the slots and the edge of the fabric. Thus I redisigned the rhombuses bigger. Here are the final pieces I drew.
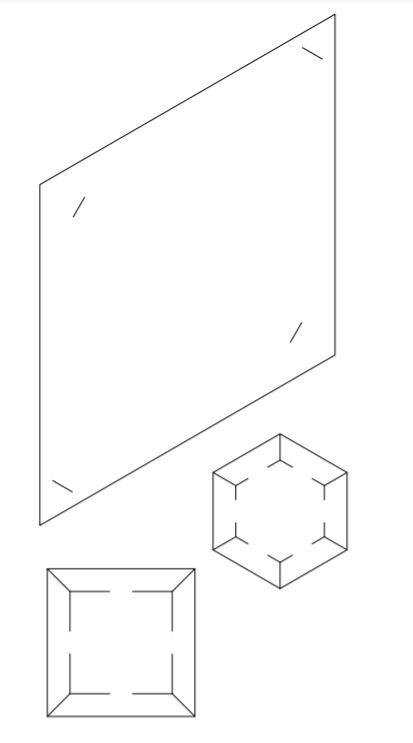
I designed the male pieces so that there would be a 2mm space between each female piece. The pieces of this modular garment can be found on os-circular fashion!
V-Material and laser cut
For the materials, Anastasia showed us the textile fab lab. Various fabrics were available but a lot of them were scraps. For the laser cutting of these pieces, I had to choose a fabric that would not unravel easily, and that would not emit toxic fumes. Moreover, I wanted to make a dress so I needed a lot of fabric. I chose a fabric with a gorgeous pattern Anastasia drew (inspired by a laser cutting fail).
I first tried to use this material for both female and male pieces but since it is very thin, the grip was not strong enough. Anastasia also offered me to bring a black reflective material that was also thin but held itself more than the previous one. As the material was convinient and offered a nice visual effect with the reflection of the light, I chose that one for the male pieces. I also cut some female pieces in the reflective material to play with the colors and reflectivity once I would have assembled the pieces together.
Thank you Anastasia !
For cutting of the reflective female pieces, I used a Power of 28, a speed of 5 and a frequency of 1000 Hz. As the reflective material is a bit thicker, I used a power of 40.
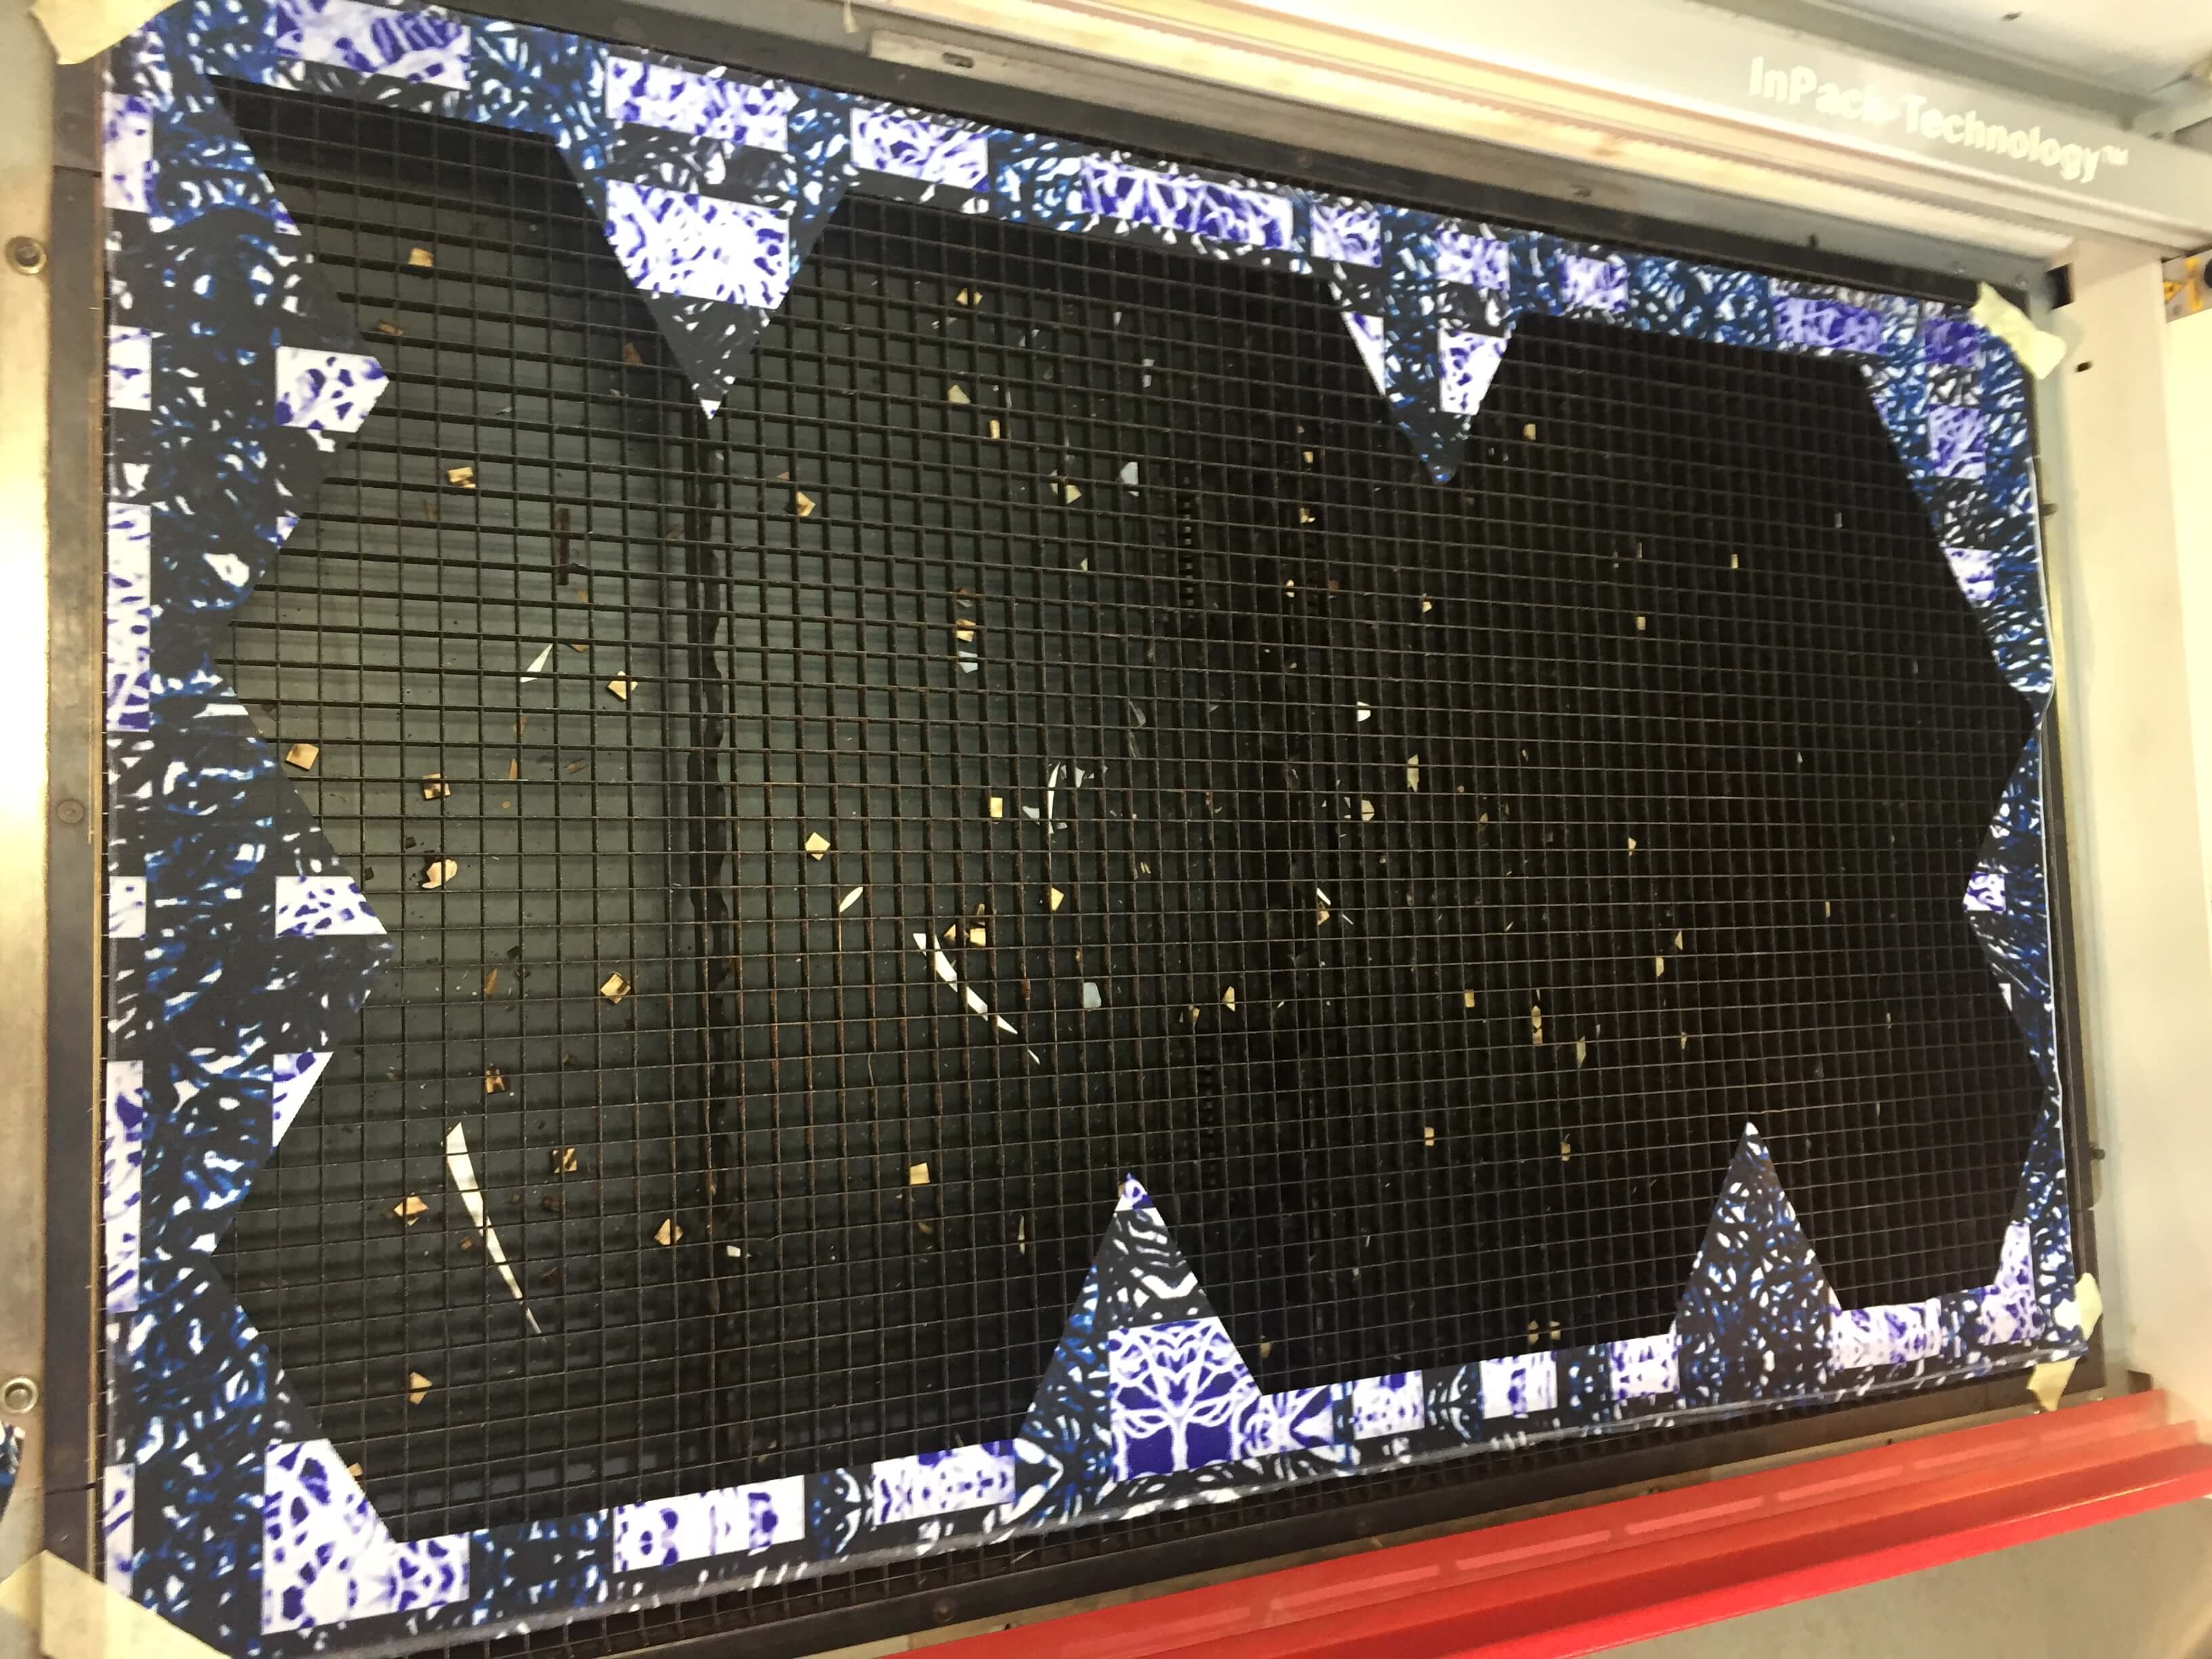
VI-Assembly
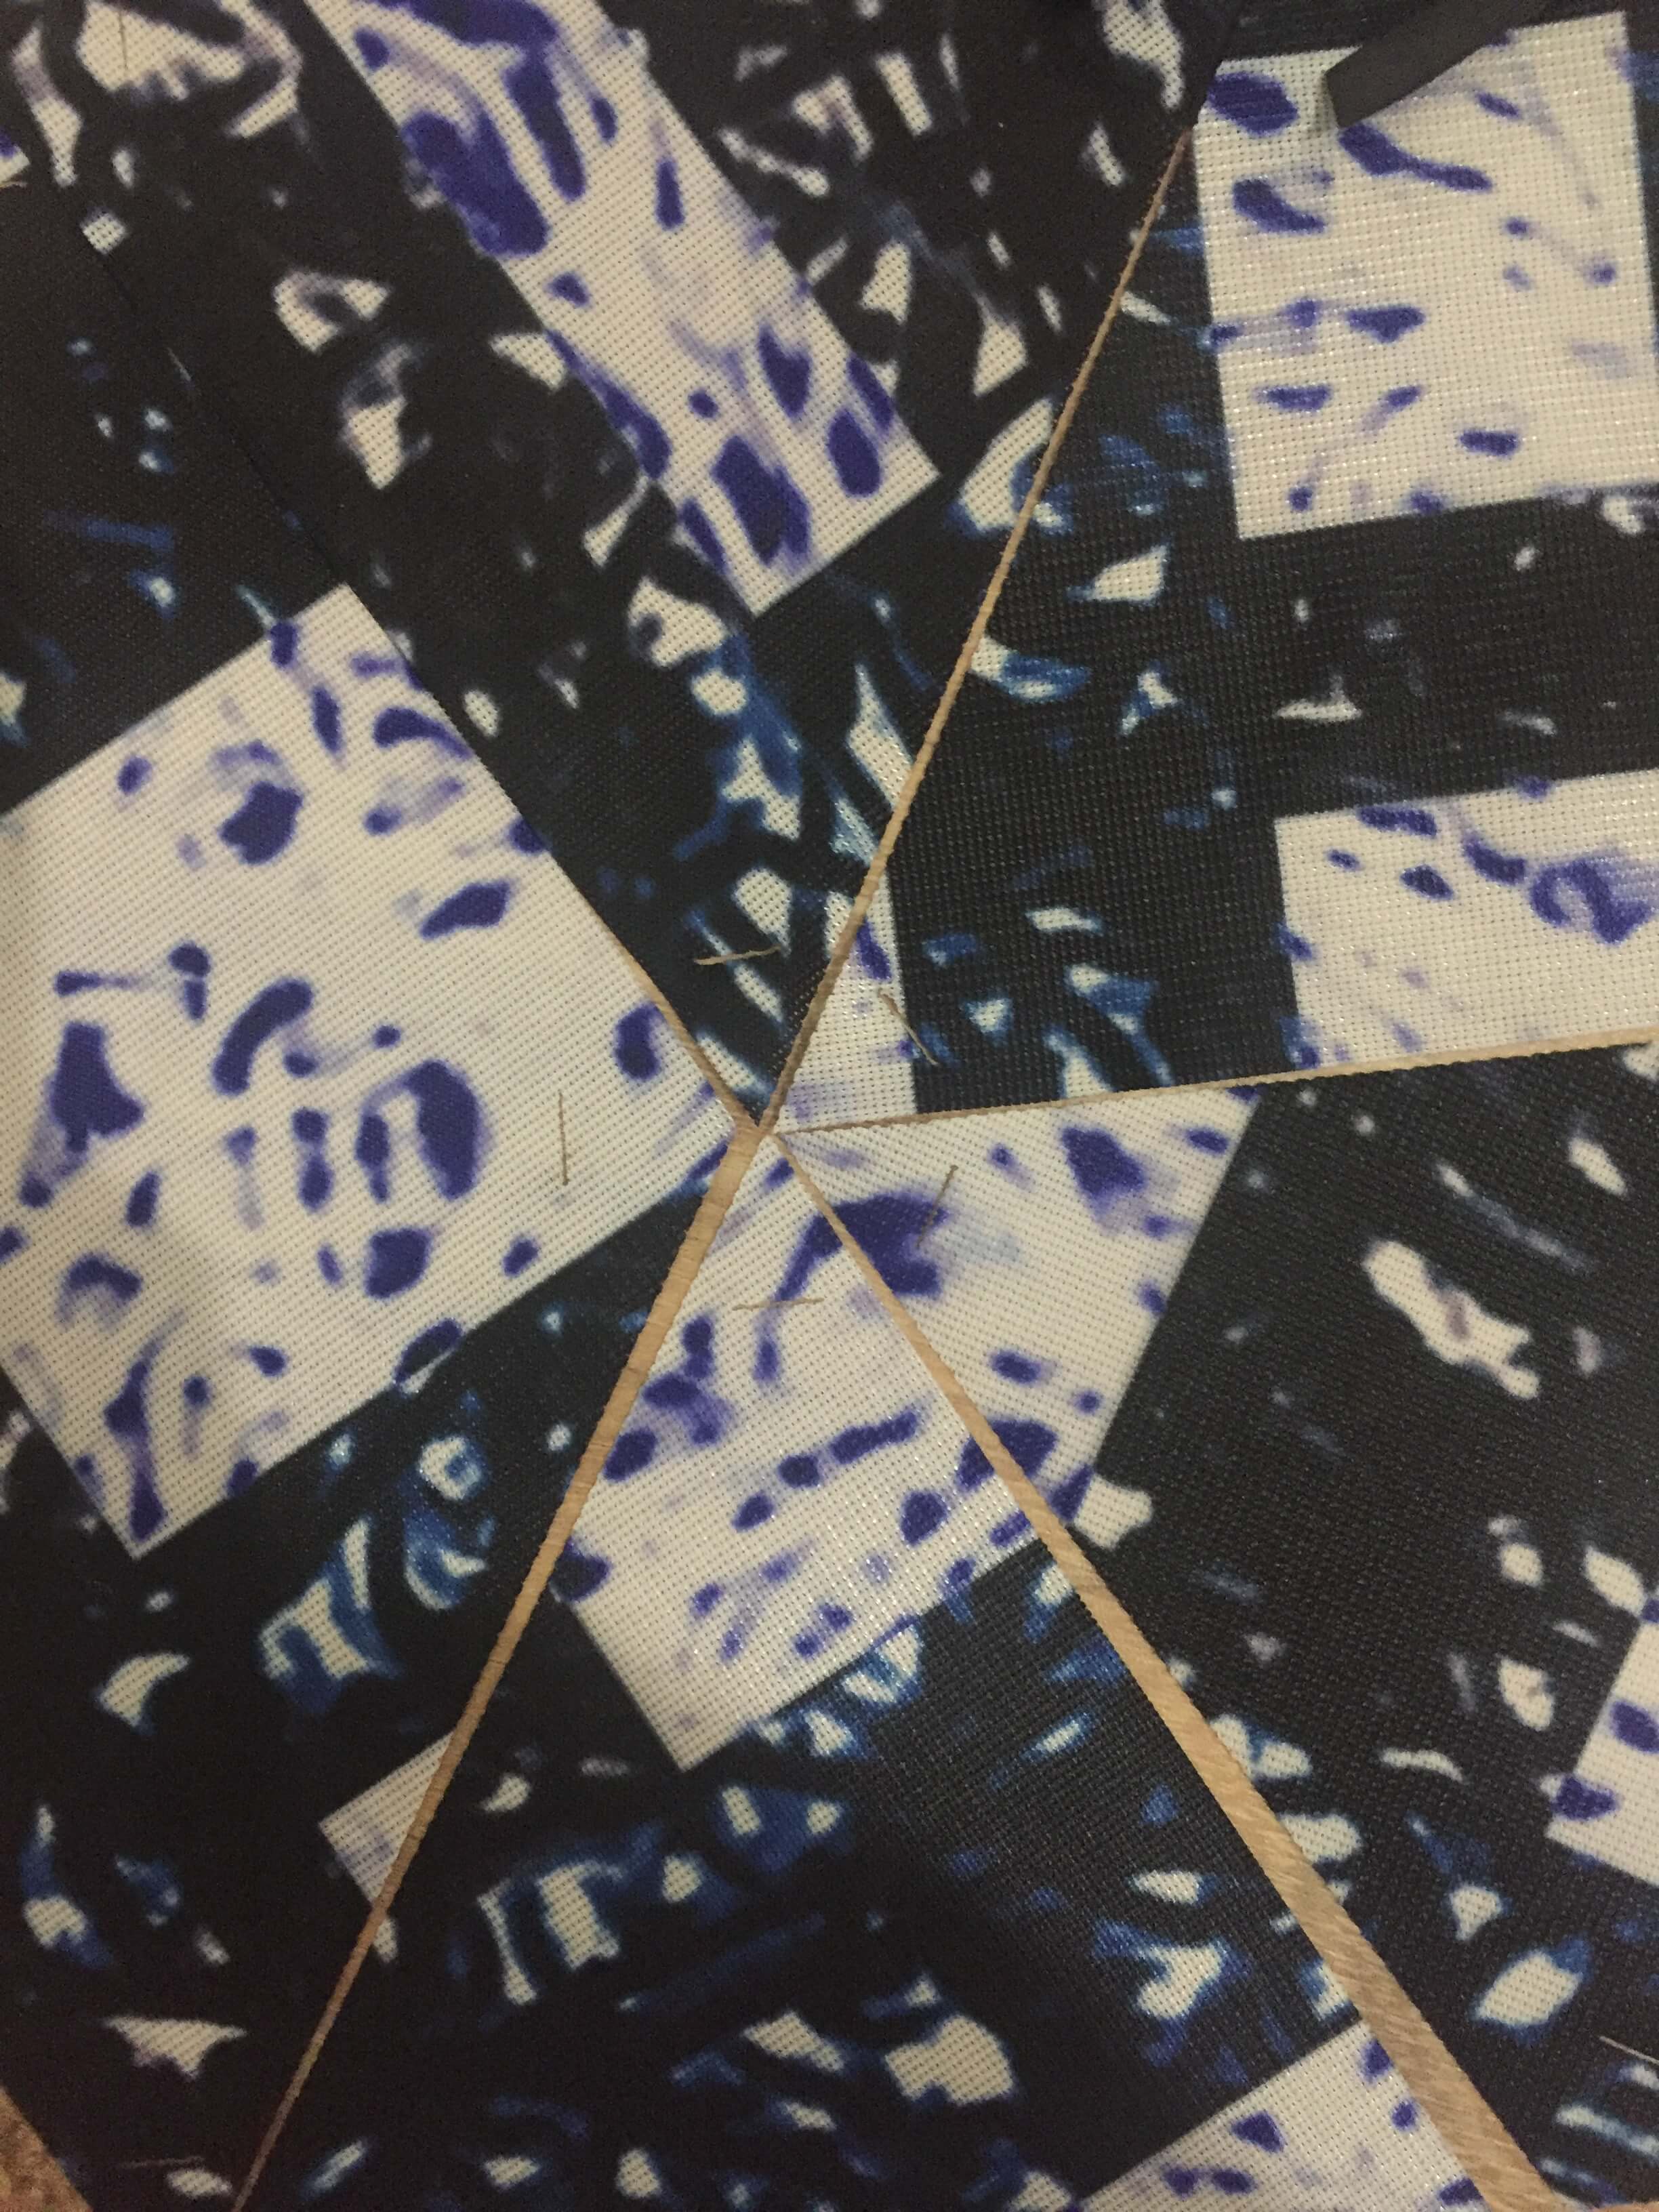
The assembly of the pieces is pretty simple ! You just need to put the tabs of the male pieces inside the slots of the female pieces !
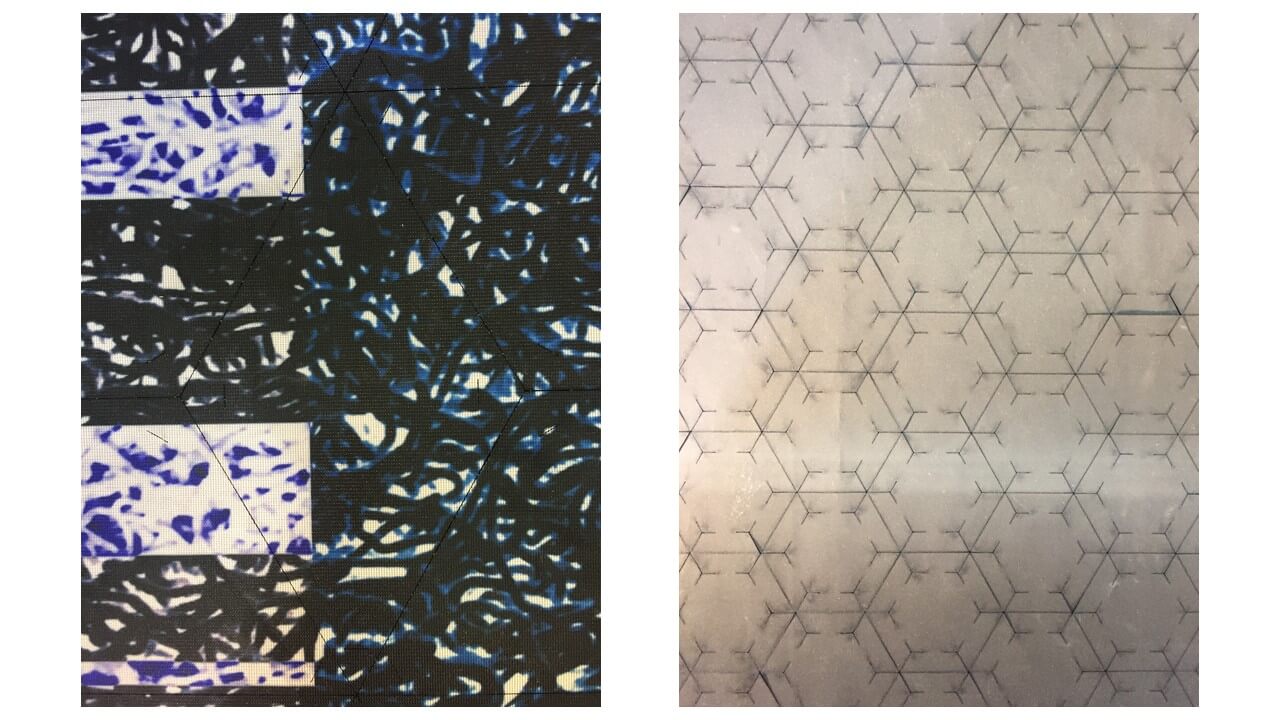
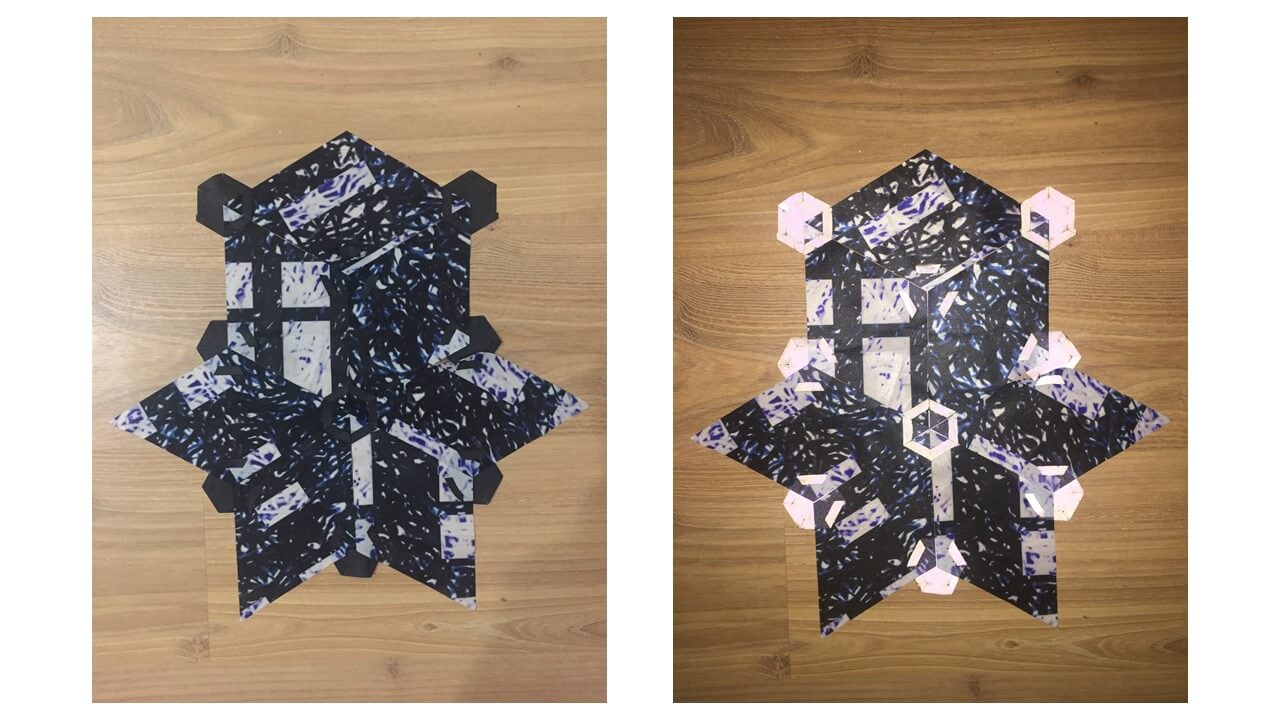
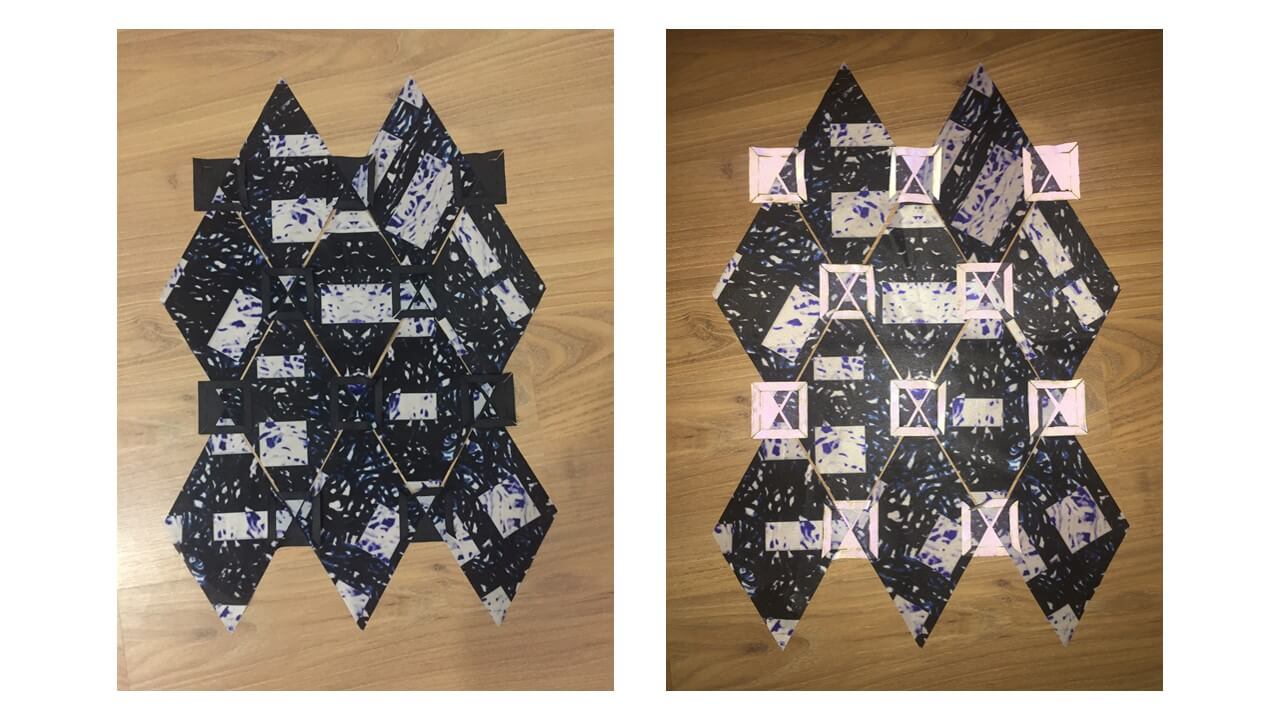
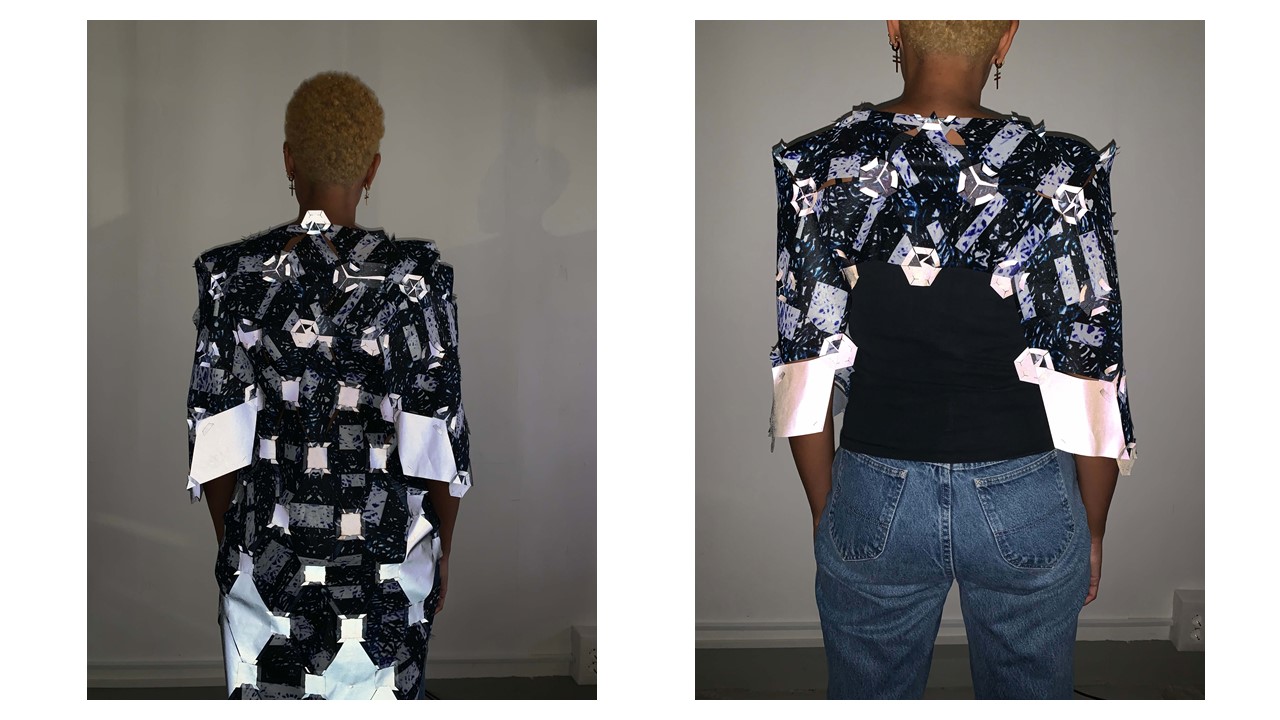
Here is what the different meshes look like with and without flash !
I actually had a problem with the male pieces: at first I thought I was going to be able to mix the two meshes (star/hexagon and greater rhombus) but the junction between these two meshes atually require a different type of male pieces that would not only have tabs disposed in 60° or 90° angles but would have both (irregular piece).
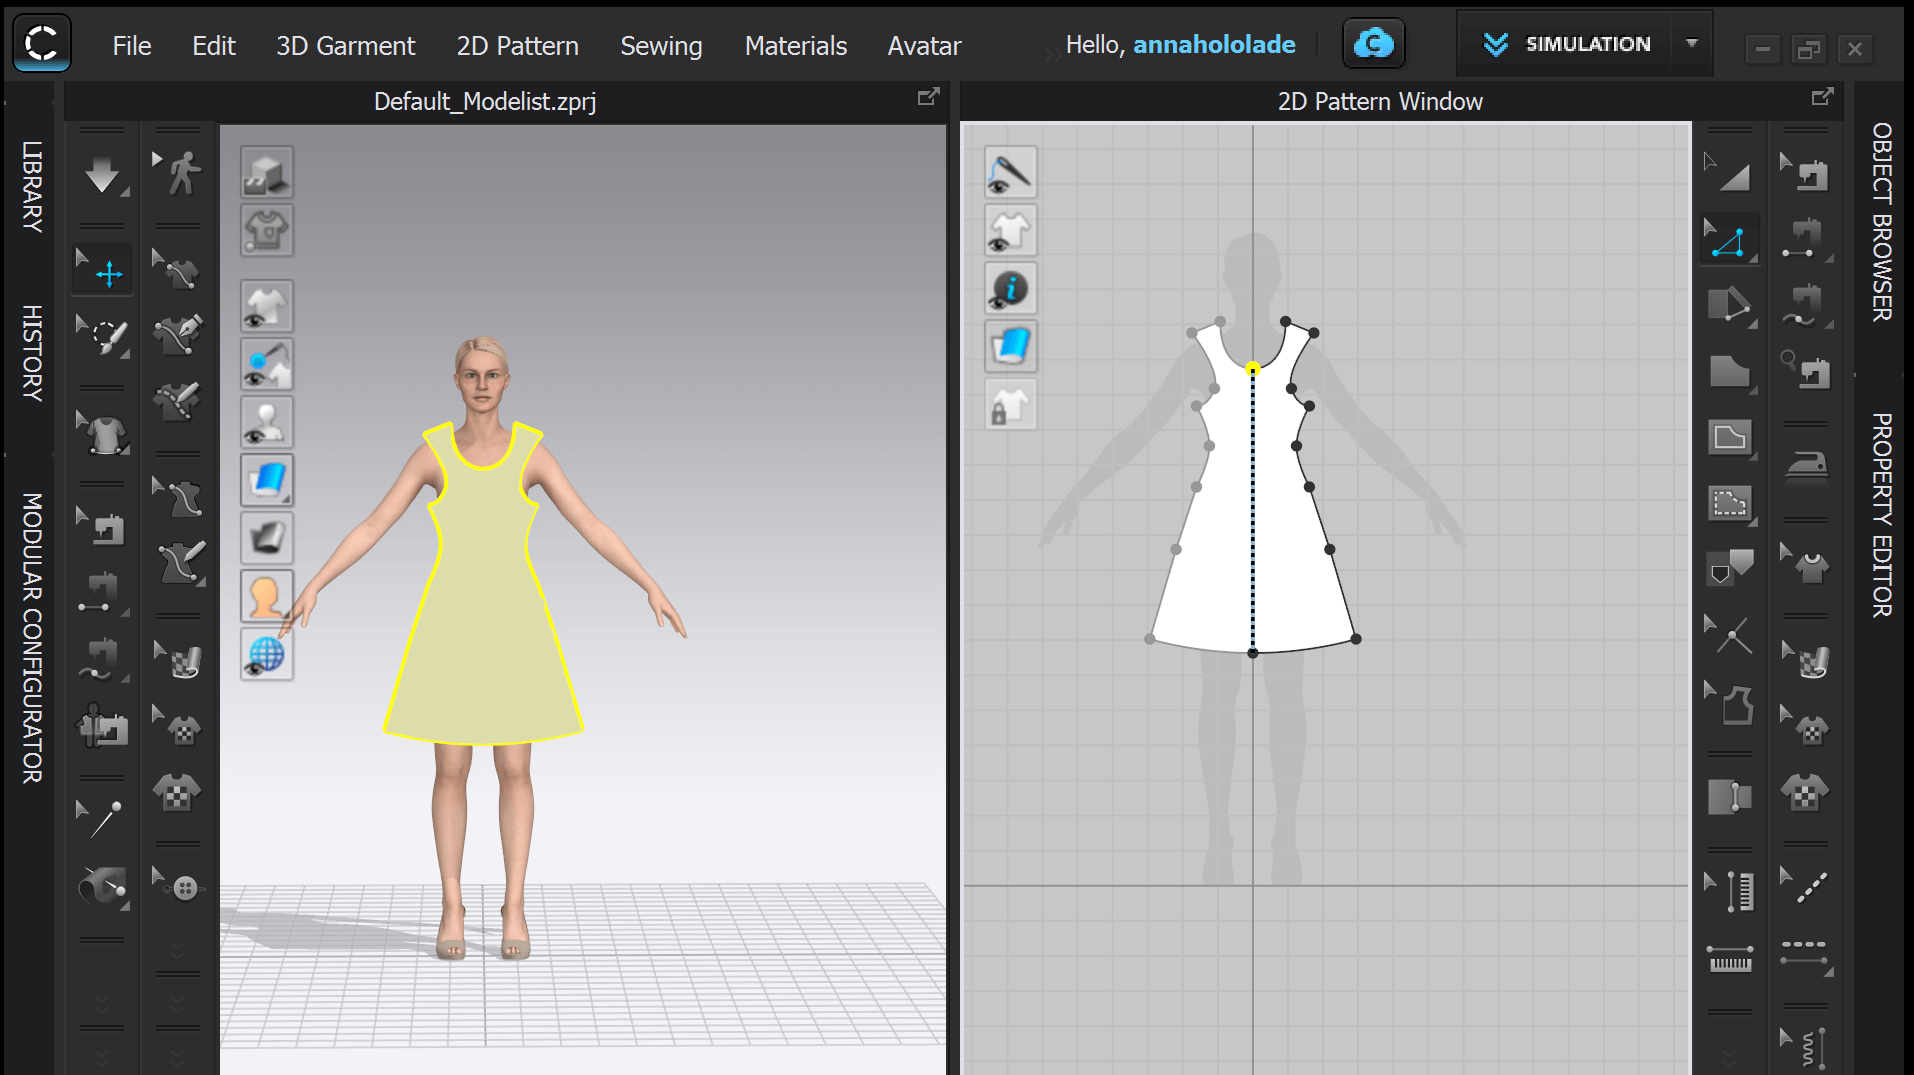
VII-Clo3D: experimentations and problems
Now that I had a modular pieces of fabric, I had to find out what I wanted to make out of it. My initial idea was to make a dress. As this week, we got an introduction to Clo3D, I wanted to draw a pattern of a dress on Clo3D, then export the pattern to InkScape and finally fit the female pieces into a shape that would look like the pattern. Ha. Ha. Haha. That was way too difficult for my level in these softwares. First, I had a lot of troubles understanding the Clo3D tutorial since the trial version I had on my computer is not the same version as the one used during the tutorial and lacks some options. Moreover, I learnt my graphic card was not good enough for Clo3D so it kept on lagging. I thus decided to make a garment by hand trough trial and error.
Despite this, I still learnt how to draw things on Clo3D and modelise their assembly and fitting on a mannequin.
I also learnt that one could draw a pattern on Rhino3D (which I master better than Clo3D, and could easily do since I know how to draw patterns by hand), export as a .pdf or .ai file and finally upload on Clo3D to test the fitting on an avatar with the proportions of the person I am making the garment for. Since I want to make a shirt for my brother, I might do this very soon !
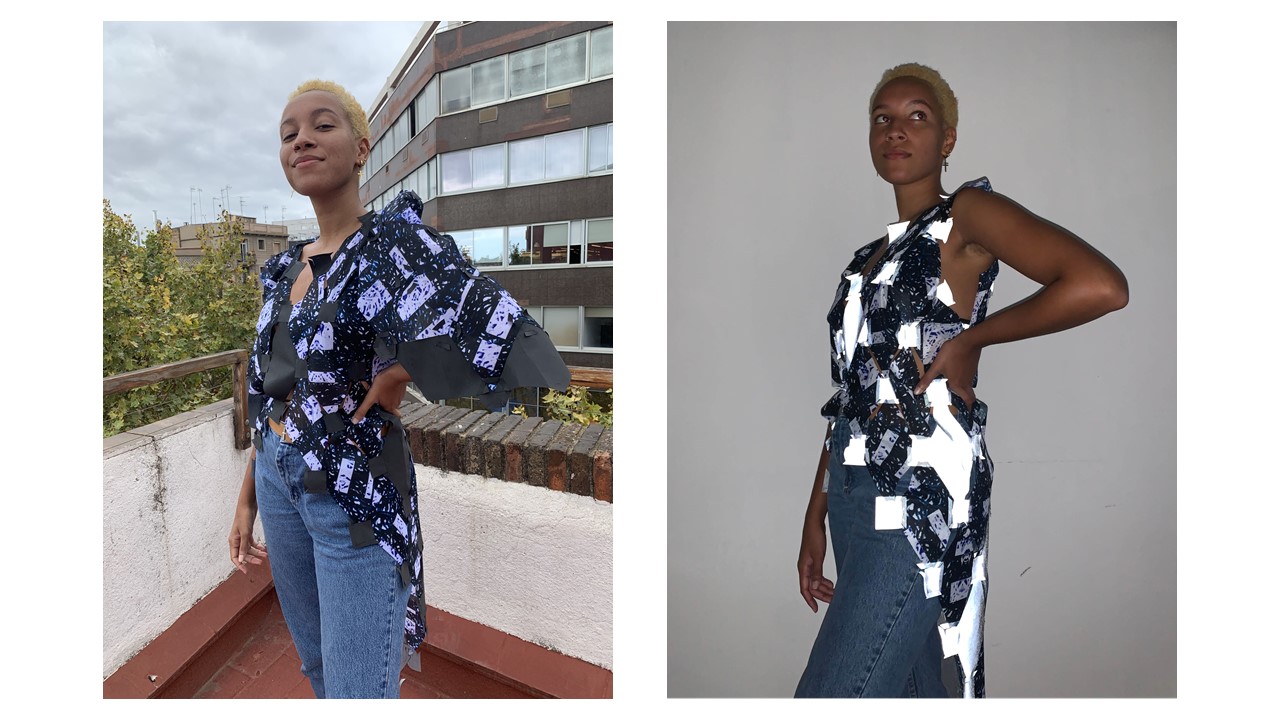
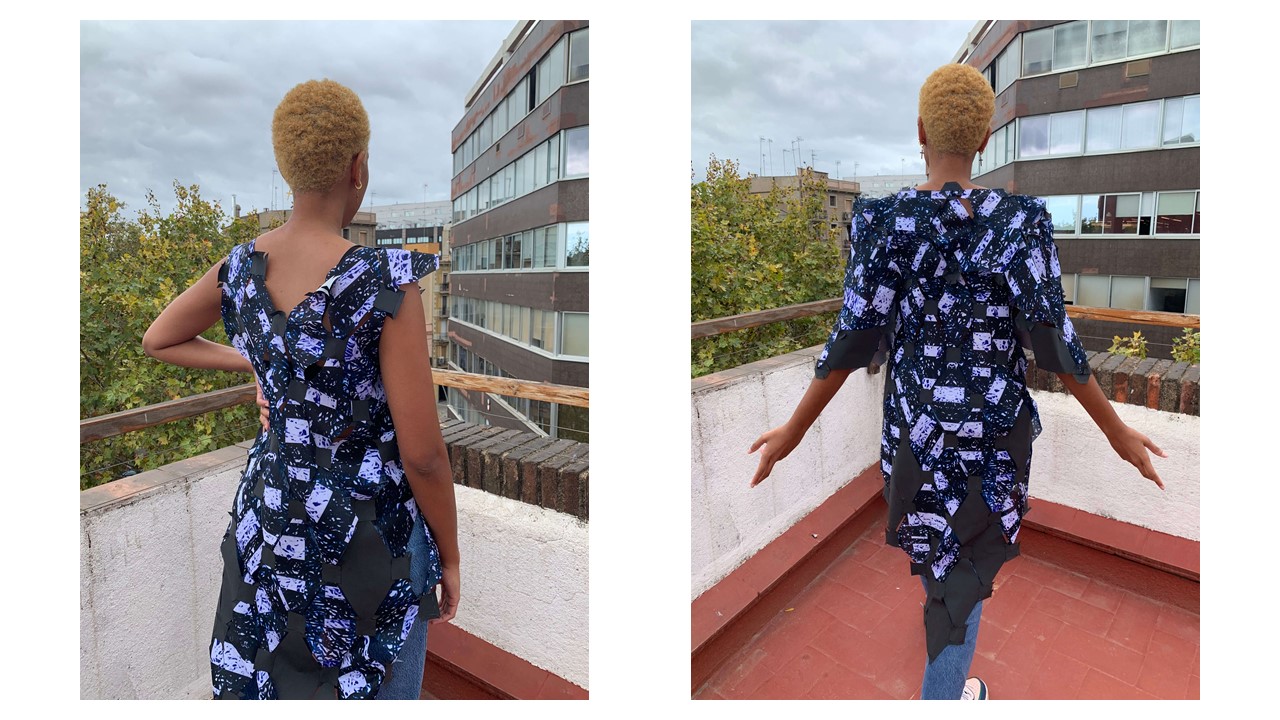
VIII-Final result
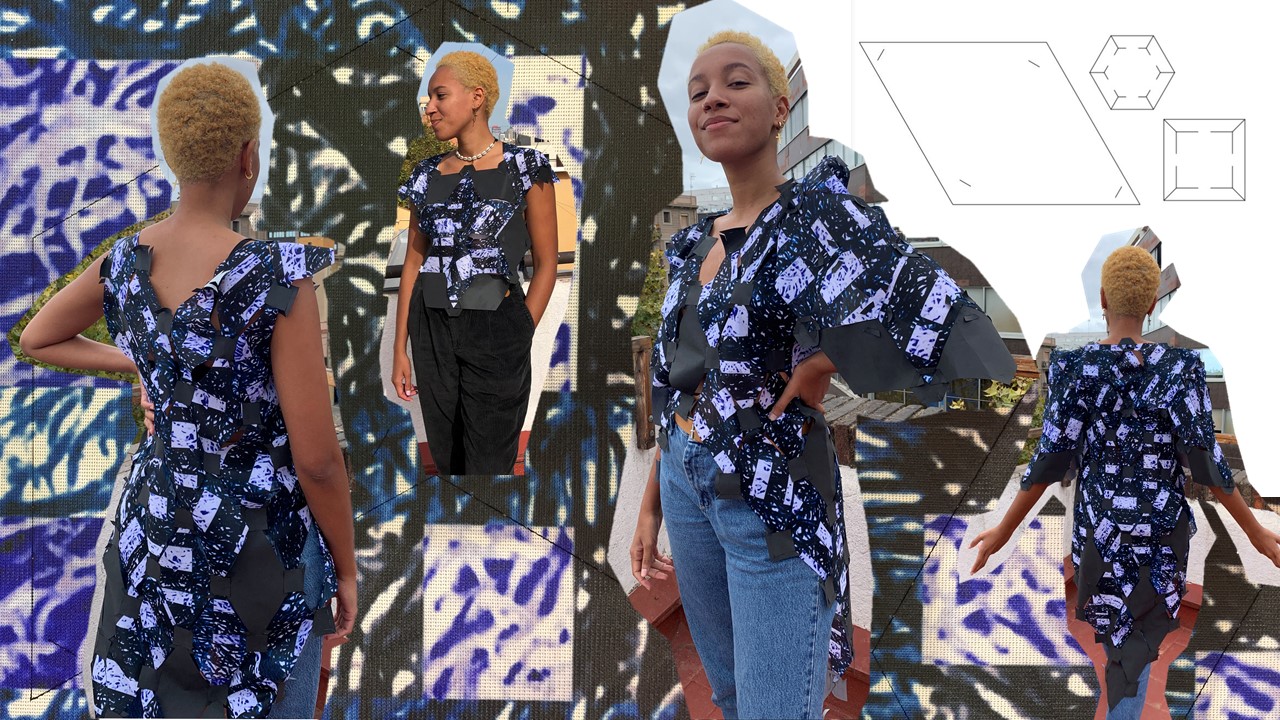
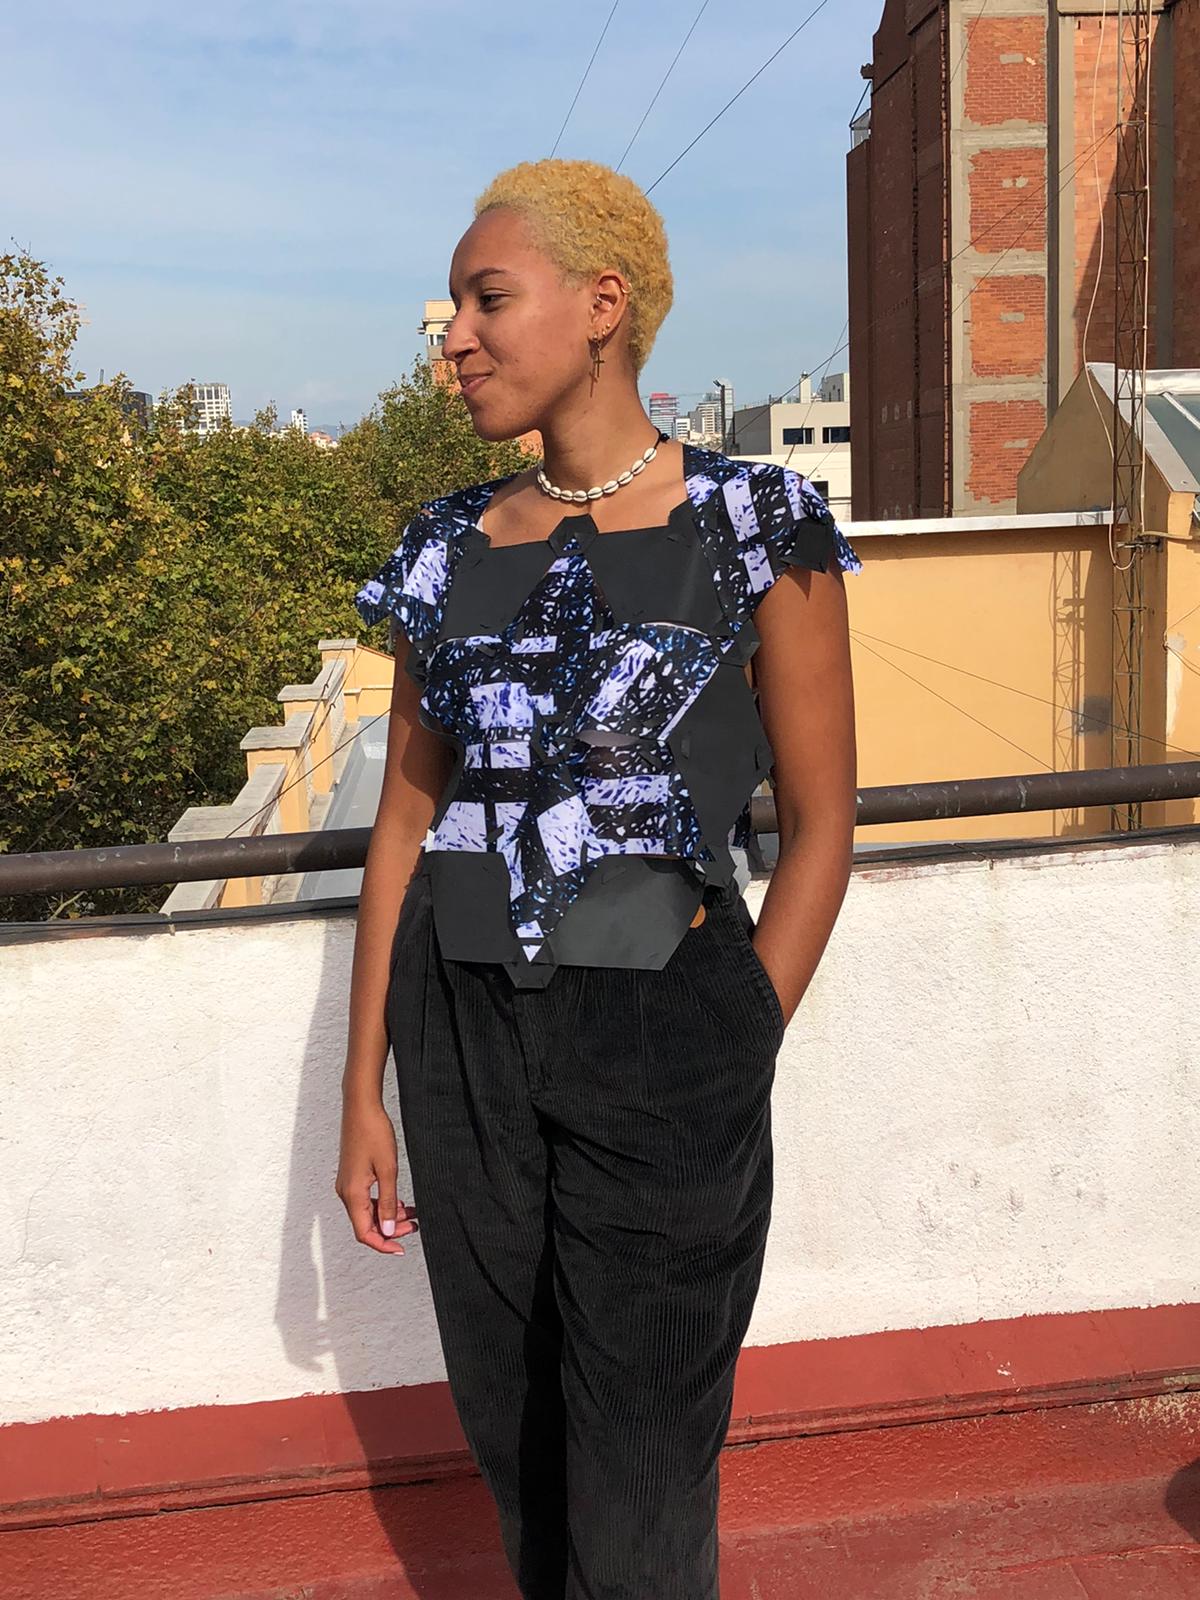
After multiple attempts, I ended up making a top, an asymetrical long top and a cape only covering the arms.
IX-Reflection on the "0 waste"
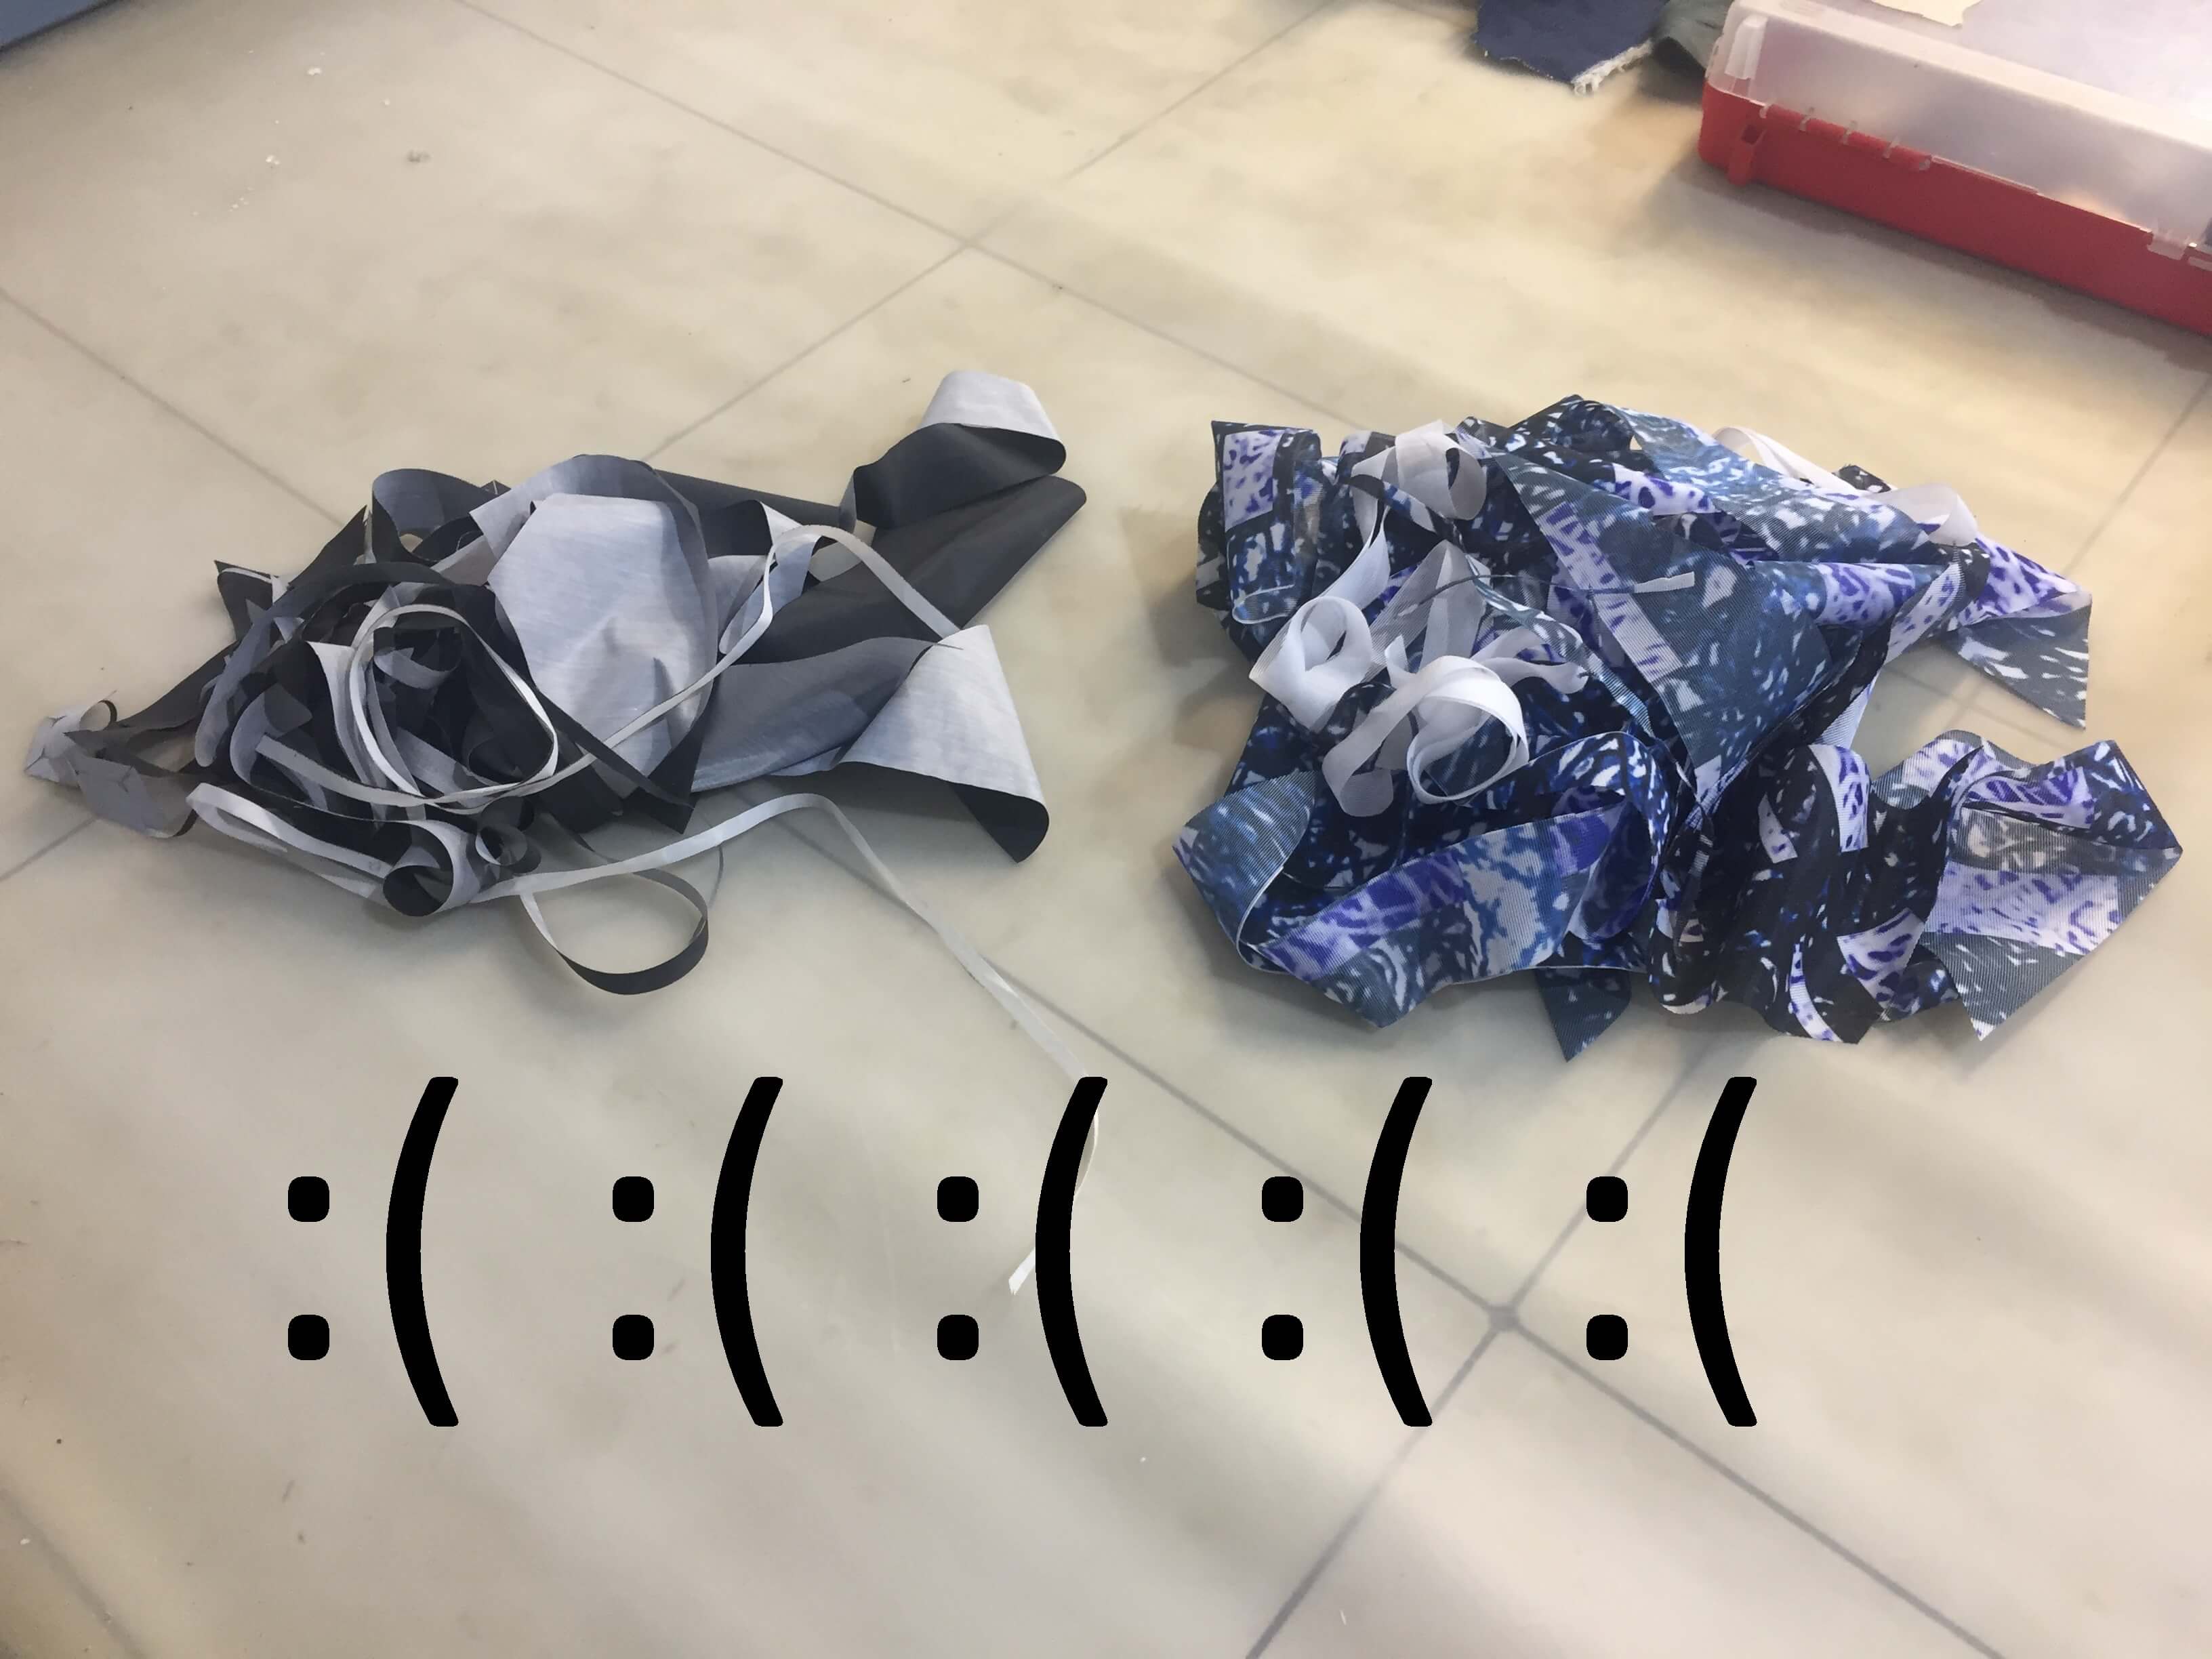
Through all the process, I really tried to make a zero waste garment and thus optimized all the pieces I made so that there would not be any space between them. But is it really 0 waste? Not really... I still had waste material on the edges of each material board I cut, especially for the female pieces.
Moreover, I had to cut pieces of 600 x 1000 mm out of new material to fit the laser cutter so I have spare material (it is not exactly waste because it will be reused by other students in other projects). So maybe if it was produced to an industrial level with laser cutters adapted exactly to the width of the material, the process would be greatly reducing the waste, but at my scale, I can not really call it "zero waste".