13 | SKIN ELECTRONICS
WEEK 13 | SKIN ELECTRONICS This week is about using electronics closer to our skin.
INSPIRATION
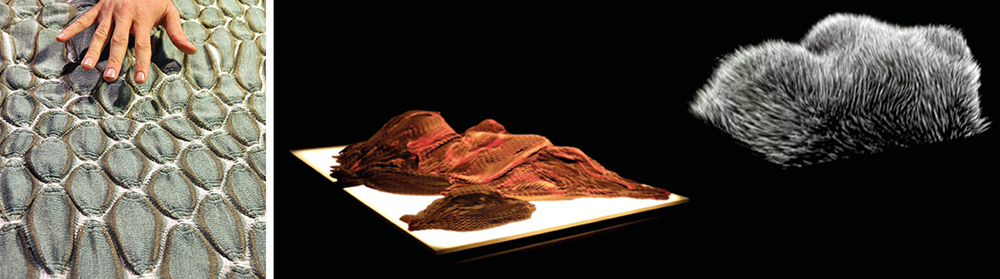 Listener (CNC Knitting) by Mette Ramsgard Thomsen | Topographie digitale by Datapaulette
ATTINY
This week, we learnt how to use the ATtiny with the tutorial of Emma. The schematics below are from her slides
Components : Arduino Uno, Bread Board, 10 μF Capacitor, wires, AT TINY 45/85
- Install the Board Manager for your AT tiny : copy paste this link into Parameters > additional board manager URLs : https://raw.githubusercontent.com/damellis/attiny/ide-1.6.x-boards-manager/package_damellis_attiny_index.json
- Download the library : Tools > Board > Board Manager > Research Library > ATtiny by David > Install library
- Set up the Arduino as an ISP (programmer) : File > Example > ArduinoISP and upload the file to your Arduino (which is not connected to anything else !)
- Circuit connect components as seen on schematics
- If it is the first time you are using your ATtiny 45/85, you have to Burn Bootloader
- Circuit Connect the other components of your circuit, for example your LED and 220 ohms resistor
- Upload sketch to the ATtiny : Open sketch > Make sure the pin correspond to the Attiny pins > Sketch > Upload using Programmer. If it worked you should see your circuit working following the sketch. If not check your connections
- Try the circuit without the Arduino
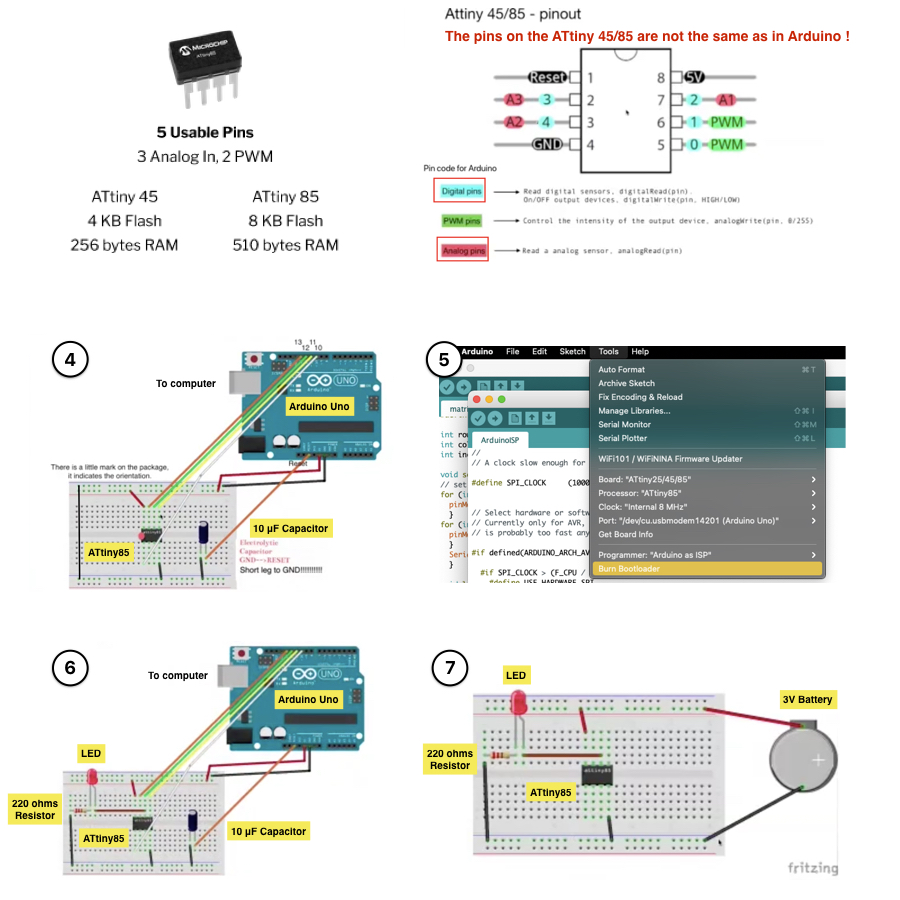 Schematics by Emma Pareschi
| Blink LED after programming | with Arduino&digital sensor 1 | with arduino&digital sensor 2 |
|---|---|---|
| attiny_led.ino | attiny_led_digitalsensor_1.ino | attiny_led_digitalsensor_2.ino |
MATRIX
Basic matrix
I made a matrix following this tutorial

Here is what I had when connecting the matrix to Arduino (Serial Plotter) and using the Code Matrix that Emma gave us.
Then, I connected it using Processing software. When using processing I struggled to find the right serial port. It was telling me the port was busy with a JBL GO or a Iphone despite the fact that I hadn't any of those with me... I checked on the port number of the USB modem on Arduino and it was the 7th ! so I just add this number on the line : String portName = Serial.list()[7]; aaand it worked ! Happy me :)
Note You can have a look at how many ports your computer have register in arduino > Tools > Port. Then try with all the numbers, depending on the computers/versions the counting system is not the same (start from top or bottom). Also remember that the first port is number 0 and the second number 1, etc...
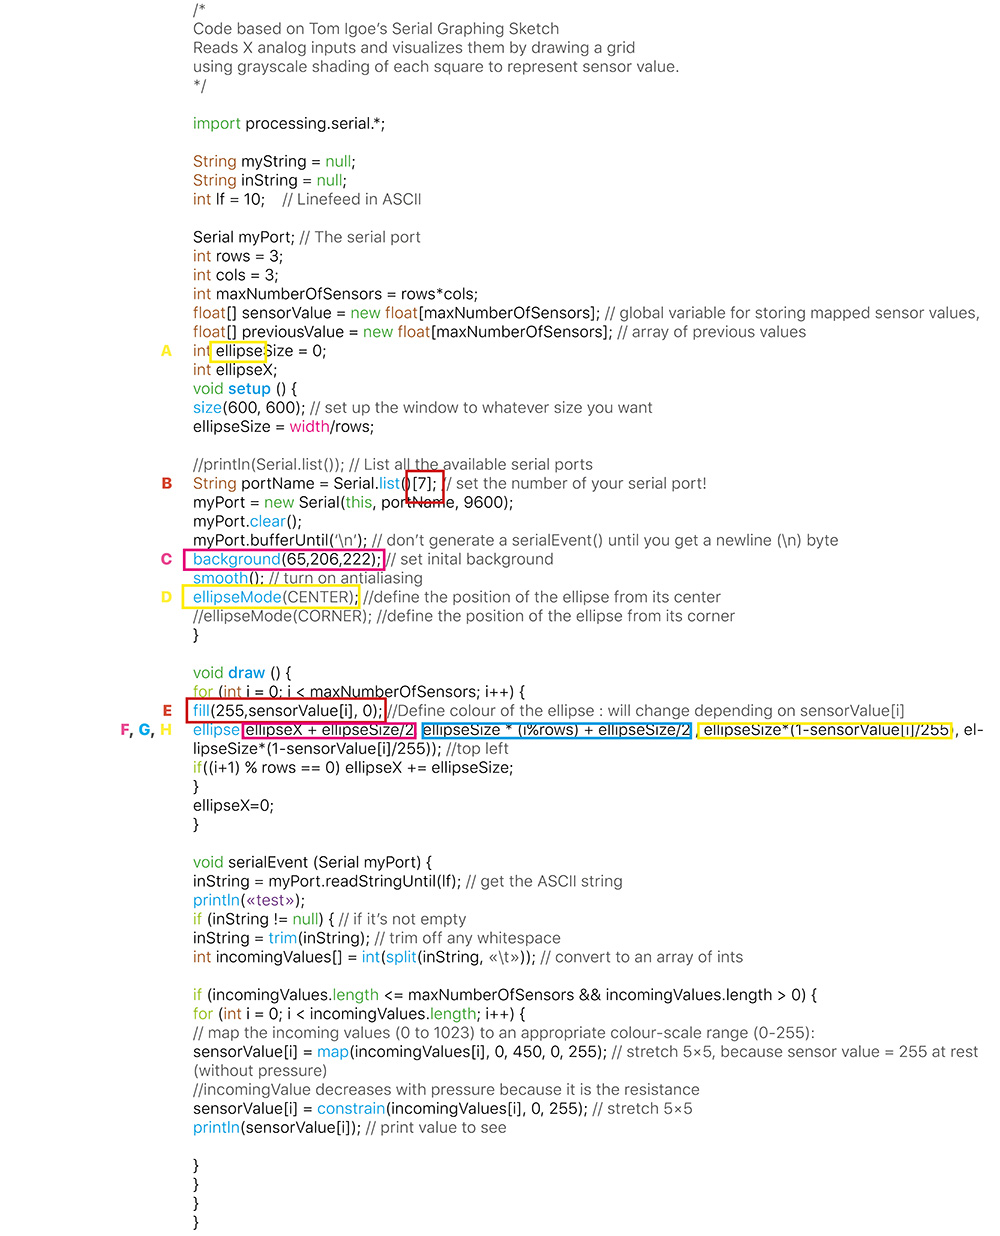
Exploring the code on Processing
Here are the files for the Arduino code and the Processing code.
| REF | Processing code | GIF | Details |
|---|---|---|---|
| A | ellipse() |  |
You can change the shape (from square to ellipse for this code) by changing the name. Depending on the shape, the code might not work correctly after change, for instance it didn't work with arc() |
| B | String portName = Serial.list()[7]; | - | Find the right Serial port by changing the number from 0 to X |
| C | background(65,206,222); |  |
To change the colour of the background (R,V,B) |
| D | ellipseMode(CENTER); | 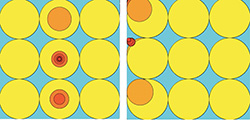 |
To define the position of the ellipse from its center |
| E | fill(255,sensorValue[i], 0); |  |
To define the colour of the shape (R,V,B), here the colour will change depending on the sensor value |
| F | ellipseX + ellipseSize/2 | 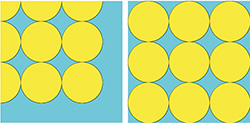 |
To define the position X of the ellipse center |
| G | ellipseSize * (i%rows) + ellipseSize/2 | - | To define the position Y of the ellipse center |
| H | ..., ellipseSizesensorValue[i]/255, ellipseSizesensorValue[i]/255) with ellipseMode(CORNER) | 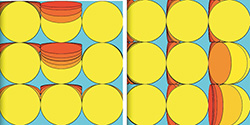 |
To define the width (or height) of the ellipse depensing on the sensorValue[i], as the sensorValue[i] at rest is 255 and decreases when pressure is applied, here the ellipse's width will decrease when pressure is applied |
| H bis | ..., ellipseSize(1-sensorValue[i]/255, ellipseSizesensorValue[i]/255) with ellipseMode(CCENTER) |  |
To define the width (or height) of the ellipse depensing on the sensorValue[i], as the sensorValue[i] at rest is 255, here the ellipse's width will increase when pressure is applied |
| - | sensorValue[i] = constrain(incomingValues[i], 0, 100); |  |
To reduce or increase the colour scale |
| - | Final outcome for the code above |  |
- |
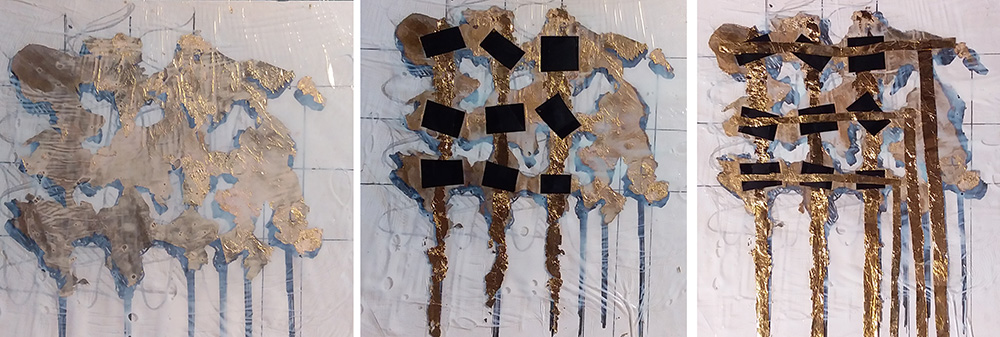
SKIN ELECTRONICS PROJECT
Materials : edible gold leaf, velostat and cling film for isolation
REFERENCES
- Video https://www.youtube.com/watch?v=MXJ4daosdCU
- IAAC - Arduino and Processing - Thermo-Vibes - Francois NOUR - 2017-2018
- Amaya Deyavorsky's documentation
- Touch Me from Playtronica
- Jessica Stanley's documentation
- *Tactile Dialogue by TU/e (Martijn ten Bhömer, Oscar Tomico), De Wever, byBorre, Optima Knit and Metatronics.
| Videos | Recitation Filippo Nasseti, Lecture Skin Electronics by Katia Vega, Tutorial Attiny Part 1, Tutorial Attiny Part 2, Tutorial Attiny Part 3, Review |
|---|---|
| Softwares | Arduino, Processing |
| Tools | Arduino Uno, Matrix |
| Materials | Conductive fabric/thread and piezoresistive fabric such as Velostat, ATtiny, capacitor, Resistor 220ohms, FTDI chip, LED... |
| Files | Arduino code, Processing code |