7. Packaging
As a brand, you need to think about all the details to get your customer to have an incredible experience with your products. So after having the handbags my next step was to create my own packaging on the same level and properties as my accessories.
At that time, the countdown to present the project was almost there, so I need to be resolutive to get the best result in less time.
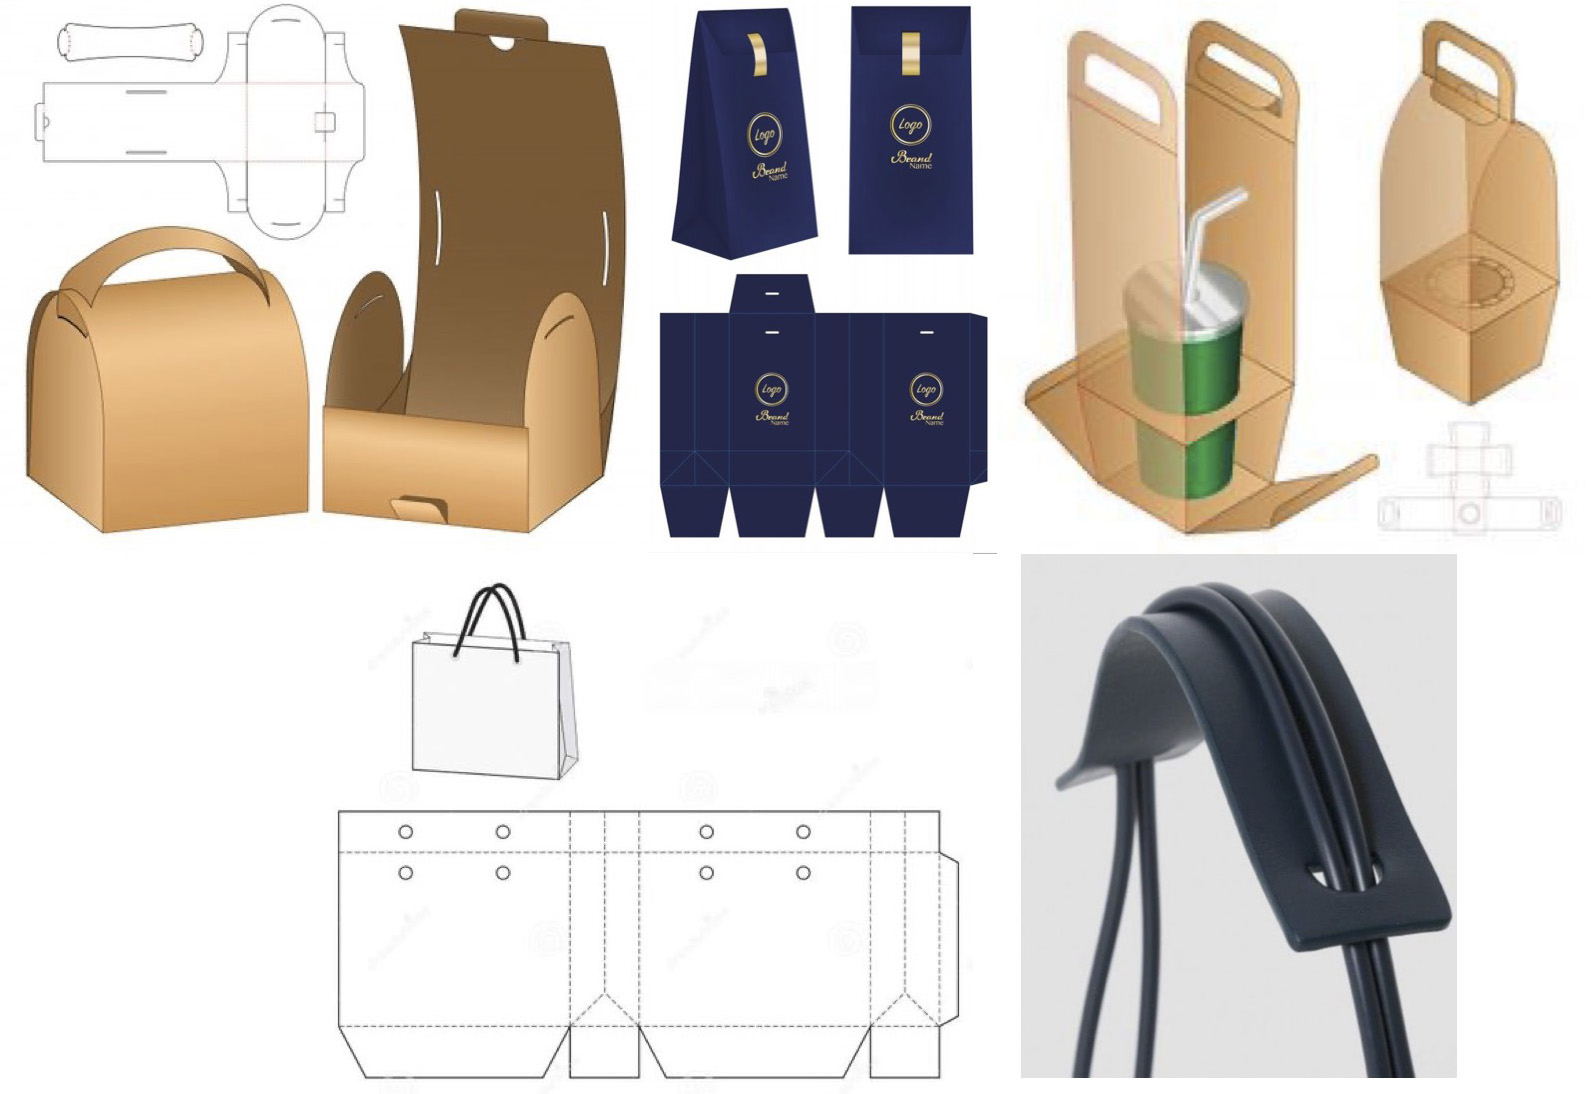
Inspiration
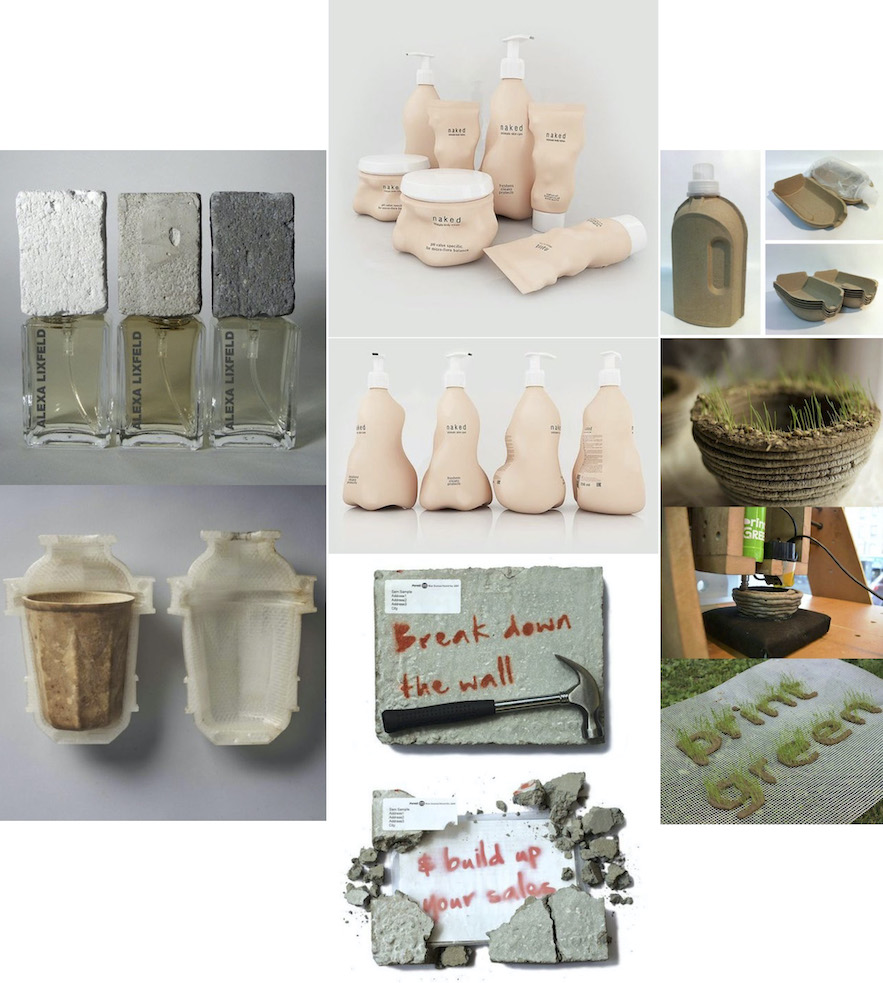
References
- Plantable paper by Bluecatpaper
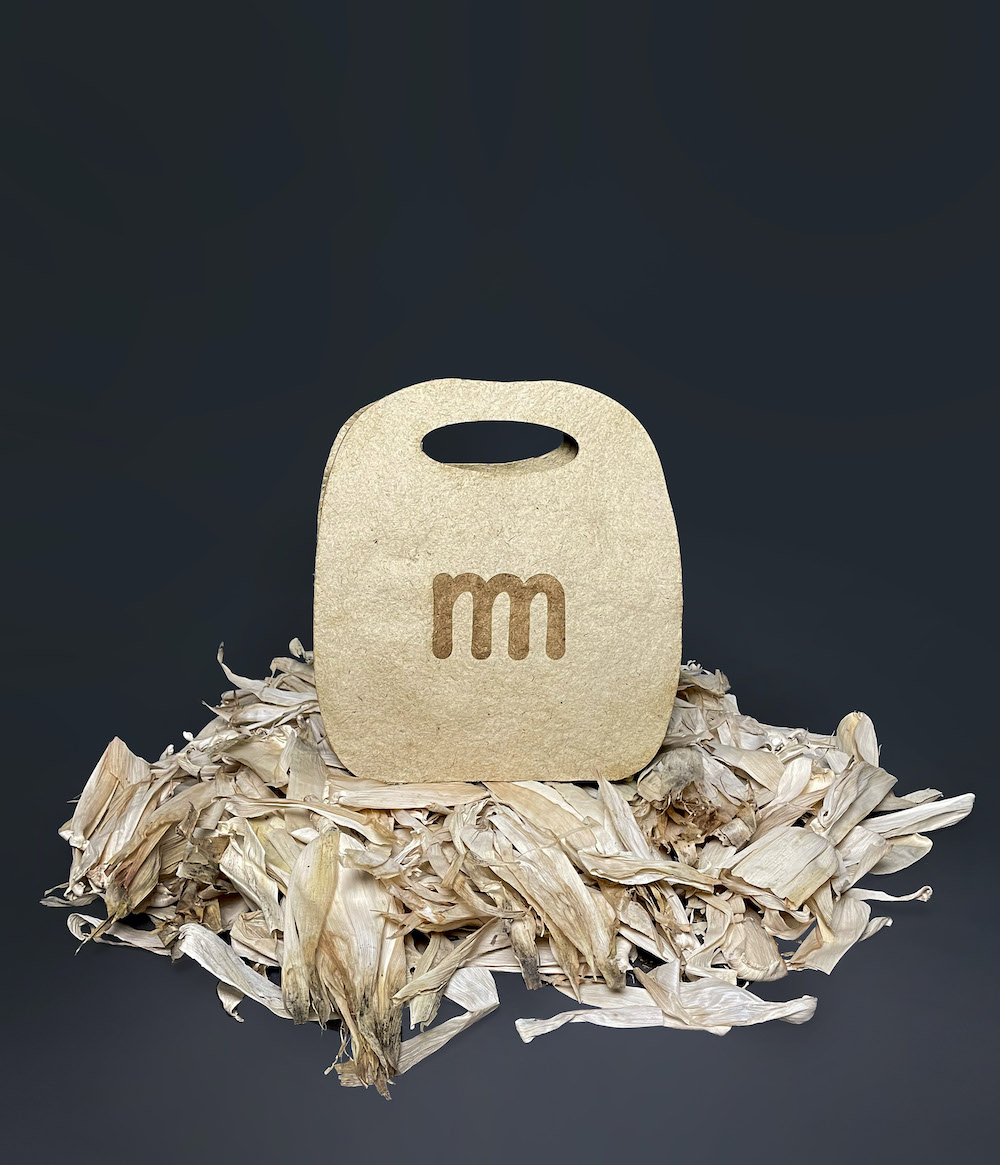
Husks paper
After making some paper samples with the husks I decided to add some seeds on it to be able to get a new life to the packaging.
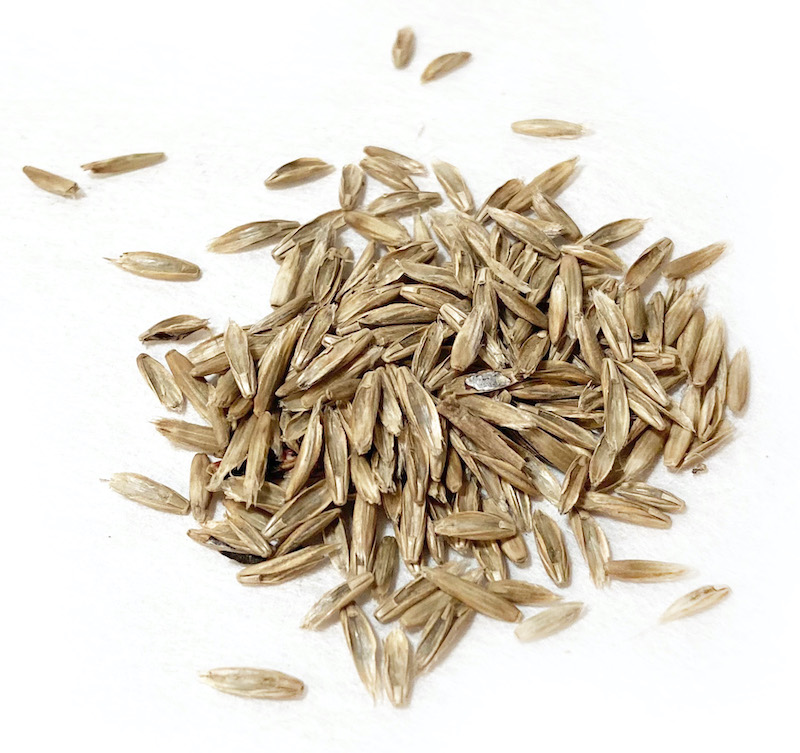
Seeds paper
I test with some seeds from my family farm:
After making the paper and letting it dry I cut some pieces and I pour one into a pot with some water and the other one I place it in the soil to know which works better.
Let's bring another life to the packaging:
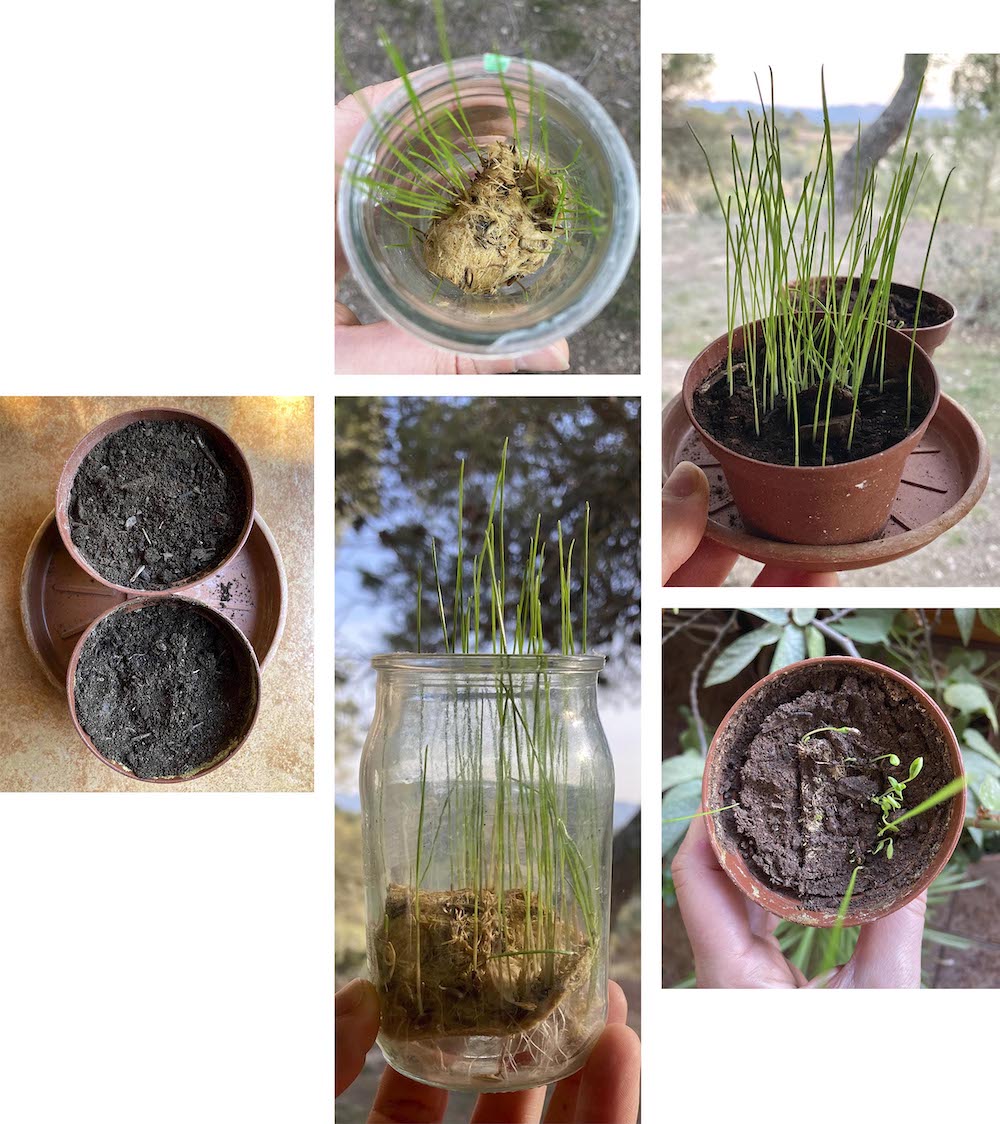
After 1 week the seeds start growing!🌱
Both methods work.
Paper tests
To get a smooth finish for the inside part of the paper I test to coat with a Cellulose leather thin layer.
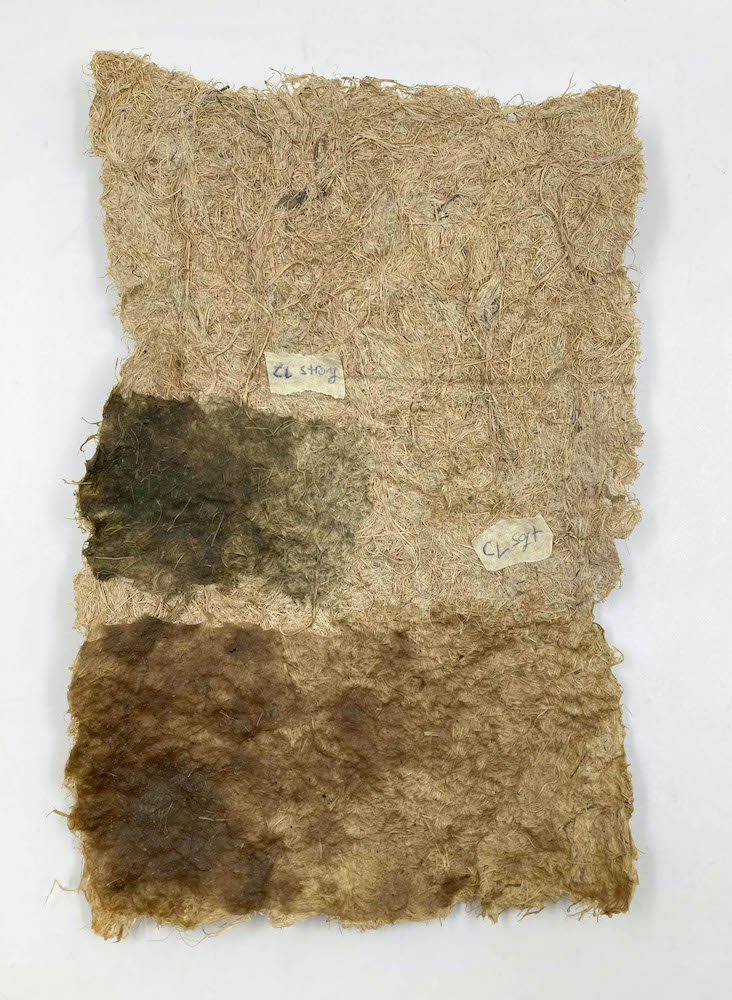
To conclude, to be useful I just need a super thin coating with soft Cellulose leather cause has a beige color after drying, so no one notices these steps to improve the final texture.
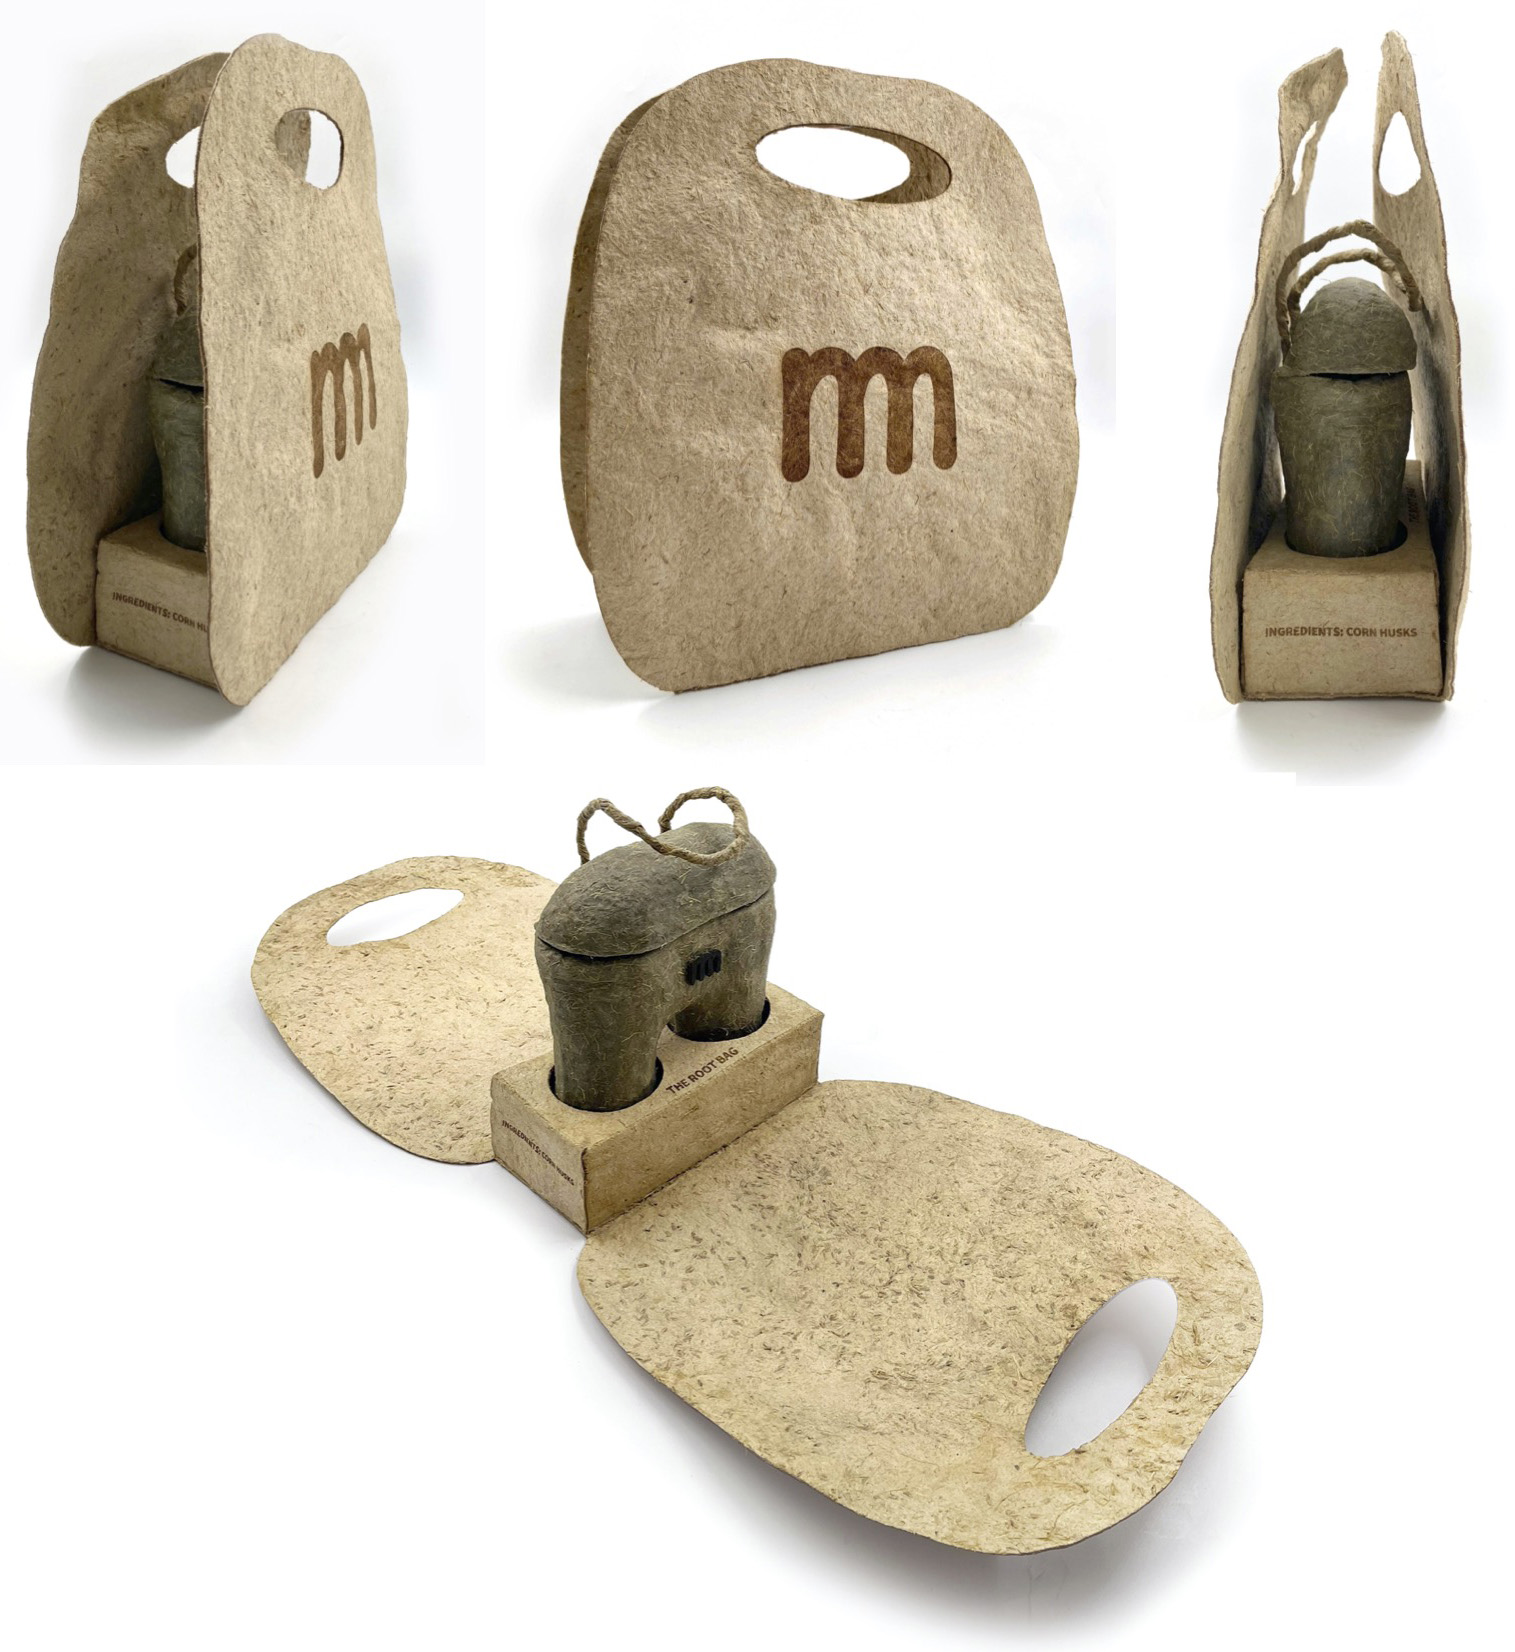
Packaging final design
After some tests with the paper samples and the seeds I decided to design a bag for the Root Bag because it's the smallest one and the shape is more complex to stand on its own.
Sketches
Moodboard of some packaging useful forms and resolutions:
Some draw ideas to produce:
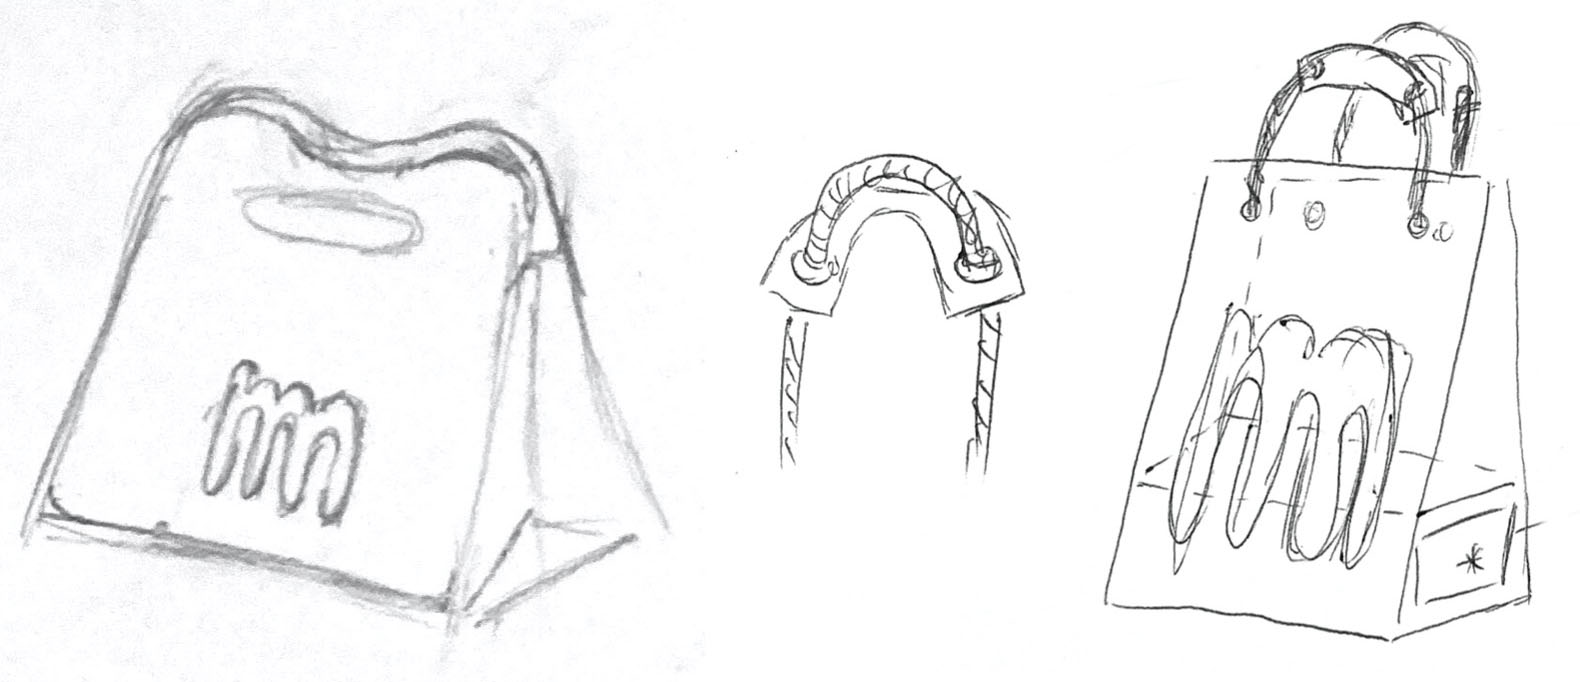
I have two types of packaging, one made with just the paper husks and the other one with the combination of the paper husks and the thread for the handle. I am determined to the packaging made with the husk cause it's easy to reproduce massively.
Patterns
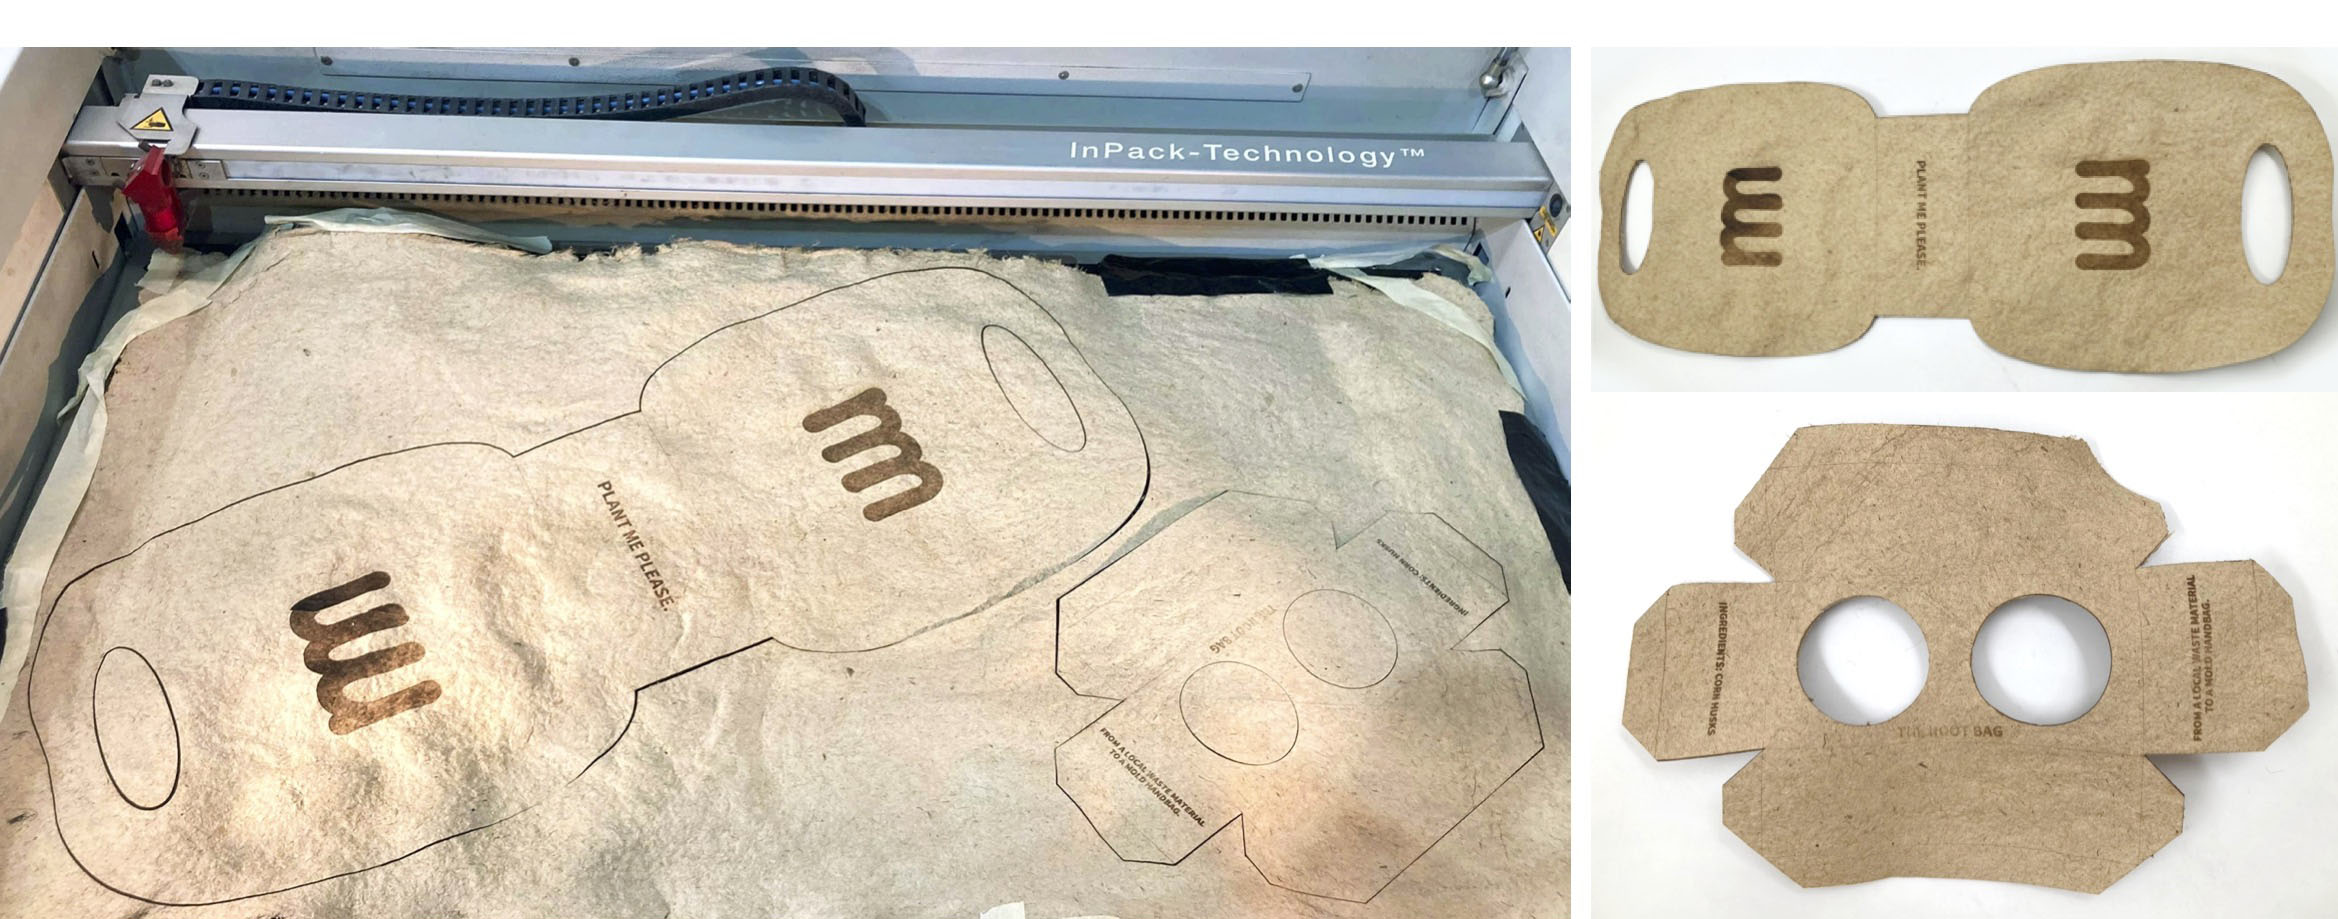
The final aspect of packaging in Rhinoceros:
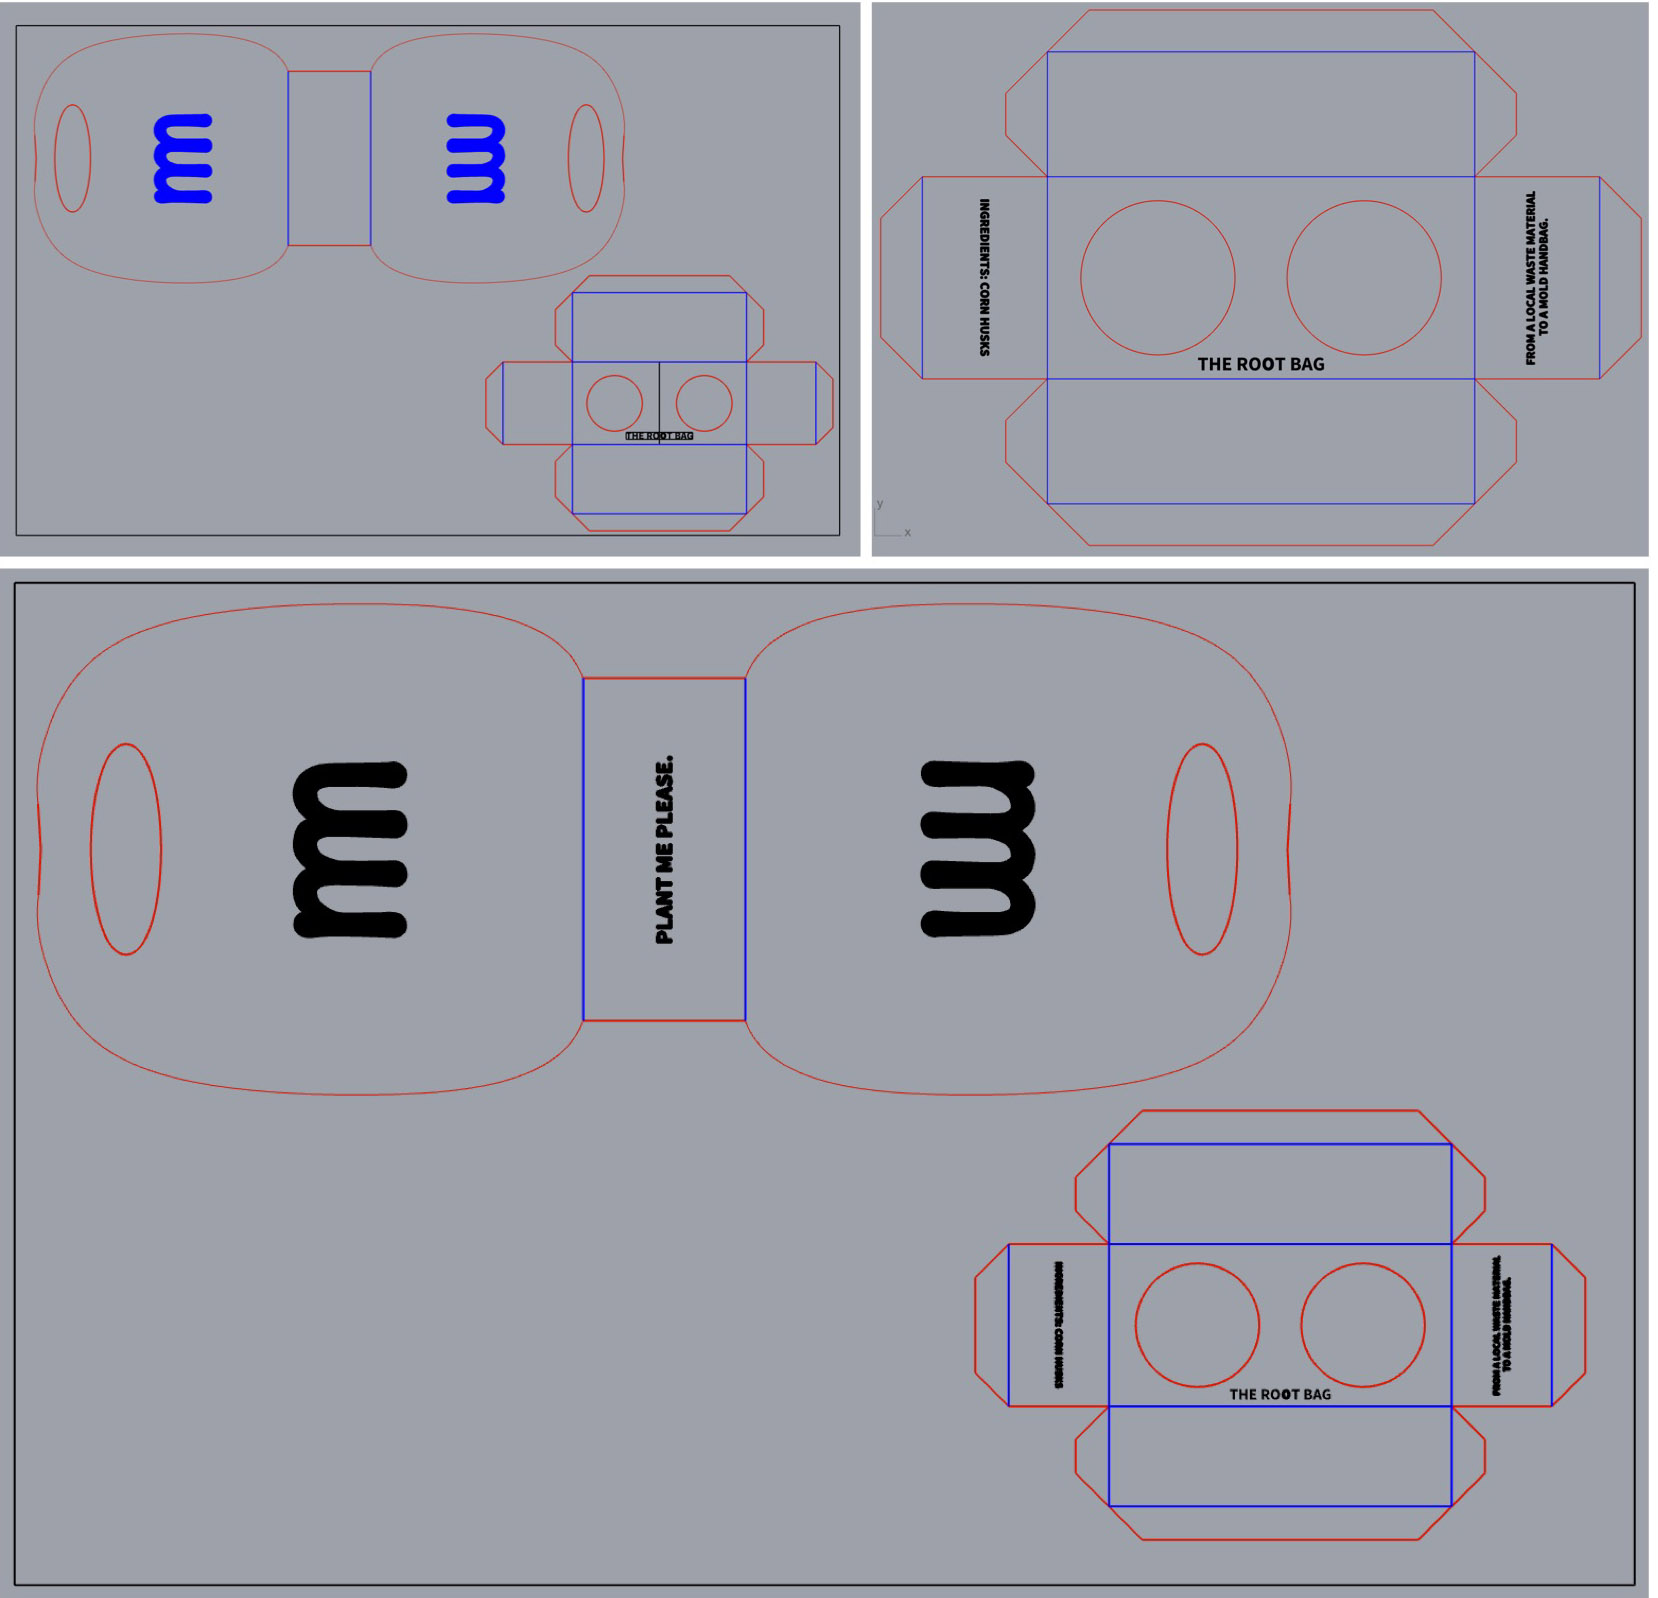
The bag will be compounded with 2 pieces:
-
The outside part: with the "m" logo on both sides, the hole to handle, and the sentence: "Plant me please." engraved in the bottom to let the customer the usage of the packaging after his utility.
-
The inside part: is a prism with two circular holes for the legs of the Root bag on the top with the name of it engraved. Both laterals have one sentence, one with: "Ingredients: Cork husks" and the other side: "From a local waste material to a mold handbag."
Download the packaging file here.
Papermaking on a big scale
Time to make the paper!
I need 5.000g OF MFC FOR 1.000 x 600 mm FRAME.
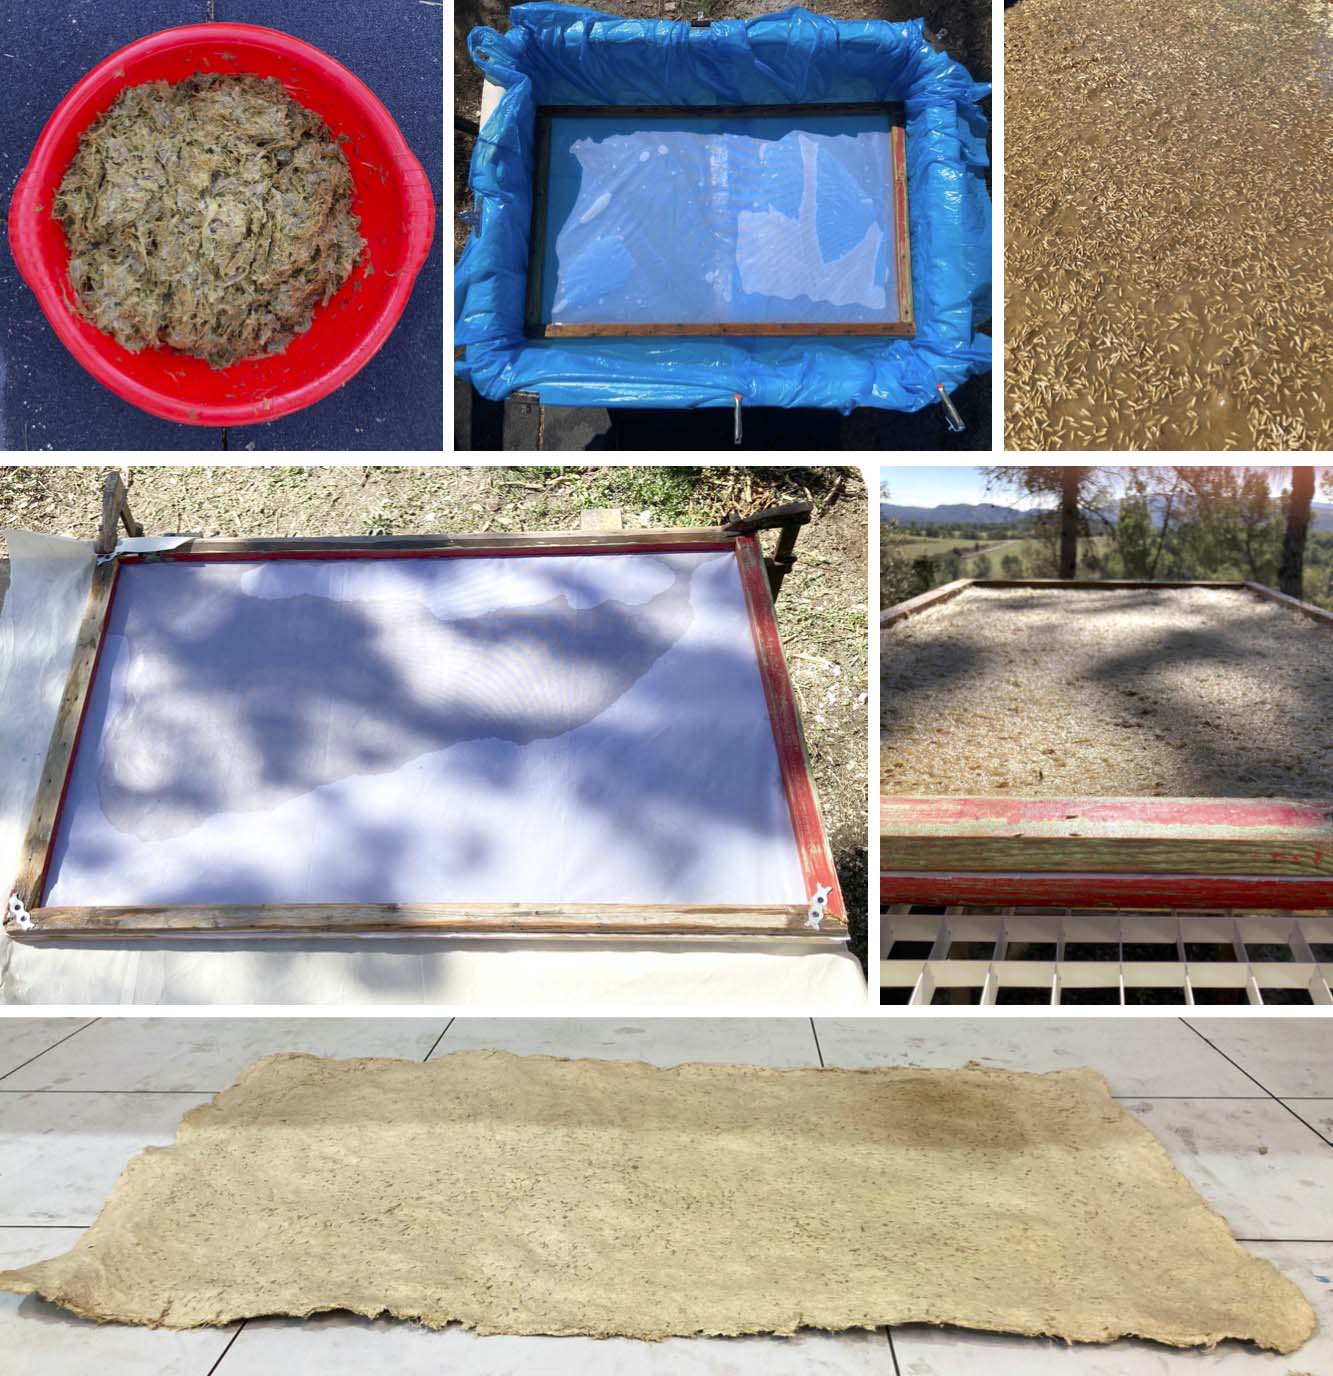
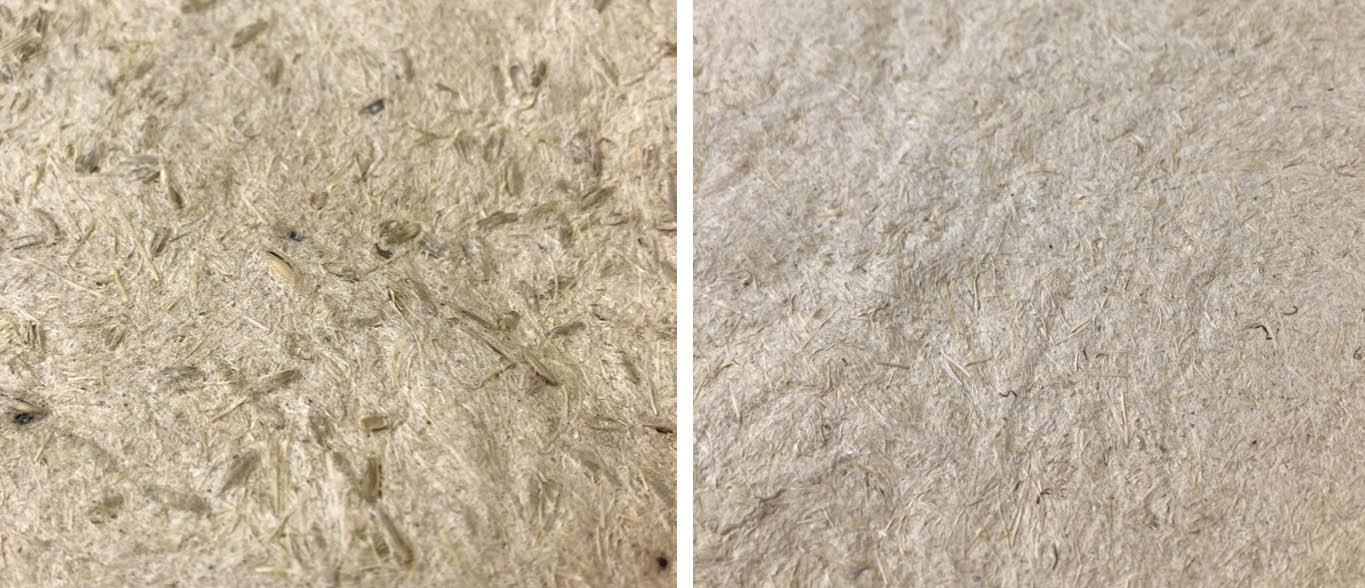
The texture of the dry paper on each side:
ATTENTION: Do not pour a lot of seed on it because the engraving will be less precise. Moreover, be careful meanwhile it's drying because tends to blend and we need the sample flat to laser cut. Add some weight to the top.
Laser Cut
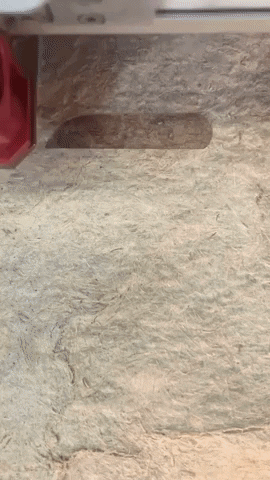
Place the sheet in the laser-cut bed and control the height and make an average if the sheet it's not flat. Also, you could cut the pieces one by one to control more the settings.
Cause my sheet wasn't flat at all, the engraved sentences weren't dark enough so I use hand solder to improve the letters.
SETTINGS TO LASER CUT THE PAPER HUSKS:
| Settings | Engrave | Cut |
|---|---|---|
| Power | 80 | 10 |
| Speed | 80 | 1 |
| Hz | 1000 | 1000 |
Final result bag
Time to join the pieces:
First I coat the inside part with the Cellulouse leather to improve the texture. Then, I blended and to finish with some soft Cellulouse leather material I glued the inside and the outside parts.
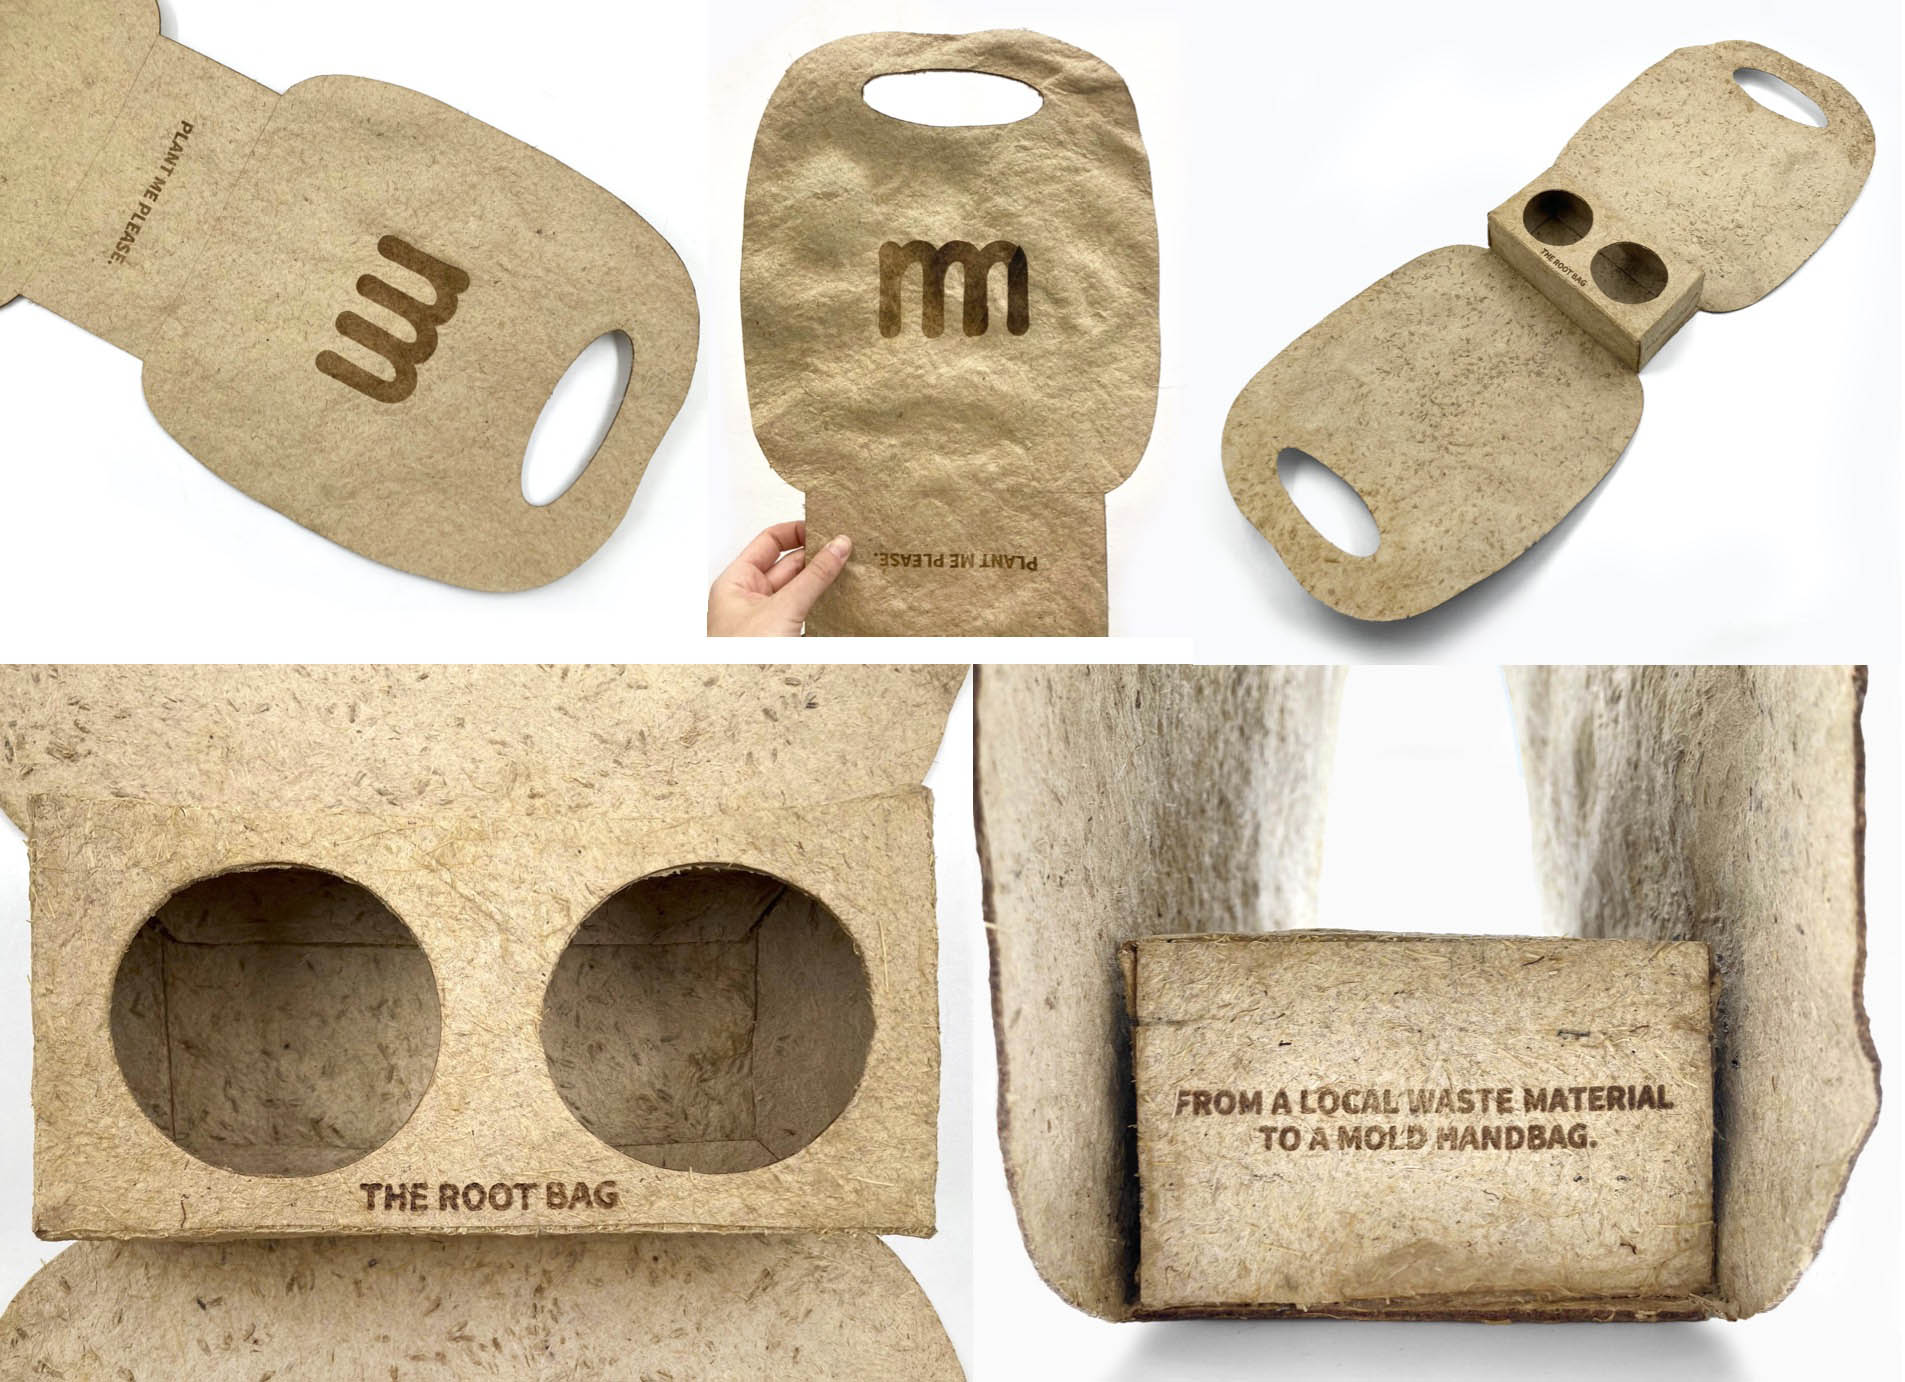
Final result with the Root bag fitting in the holes.
Pleased with the result and seeing a real and easy application in the actual packaging area. 📦